Showing posts with label quilts. Show all posts

Wednesday, August 6, 2014

Modern Borders = Placemats

First - thanks for all the support with the bag story!  Yes, the stains mostly came out. It was pointed out to me that I kinda skipped that part. Oops!  Also, I've had quite a few no-reply commenters lately so if you didn't get a response from me directly, that is why.  I WANTED to reply to you....  Why won't all these blogging platforms play nicely together? Sheesh.

In the busy-ness of my life, I am finding time to keep up with challenges. It's become a point of pride with me to not have missed a single challenge at SaskatoonMQG.  The one due at the end of July?  Make a modern border.

How do you do that?  And who came up with this cockamamie challenge anyway? (Me. It was me.)

Fine.  I'm making a piece that is ALL borders.  That's right just one border after another.  And then I'm going to cut it up so the borders don't even go all the way around. Yeah.  Take that, challenge-comer-upper-with! (Again, me.)
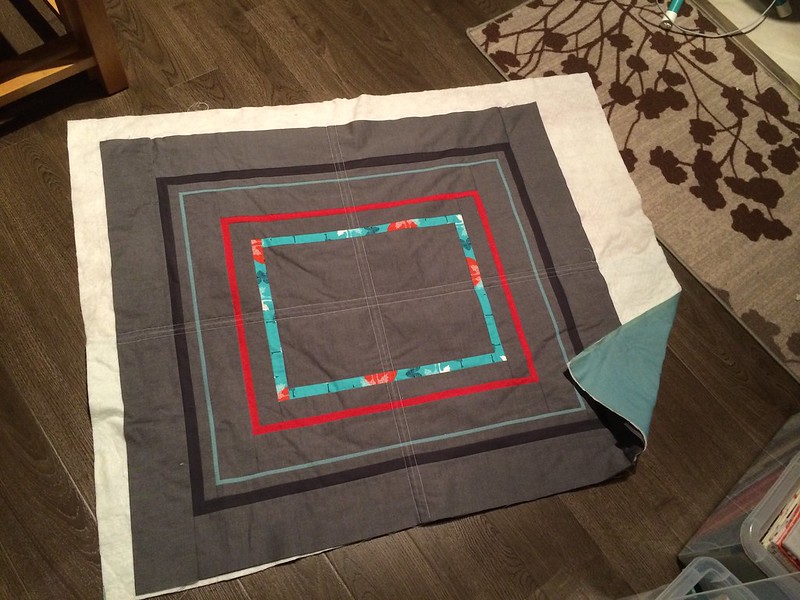
I started with some shots and chambray.  Feels so luxurious in the hand. If only the shimmer of both showed up in photos...Threw in some Tsuru for good measure.
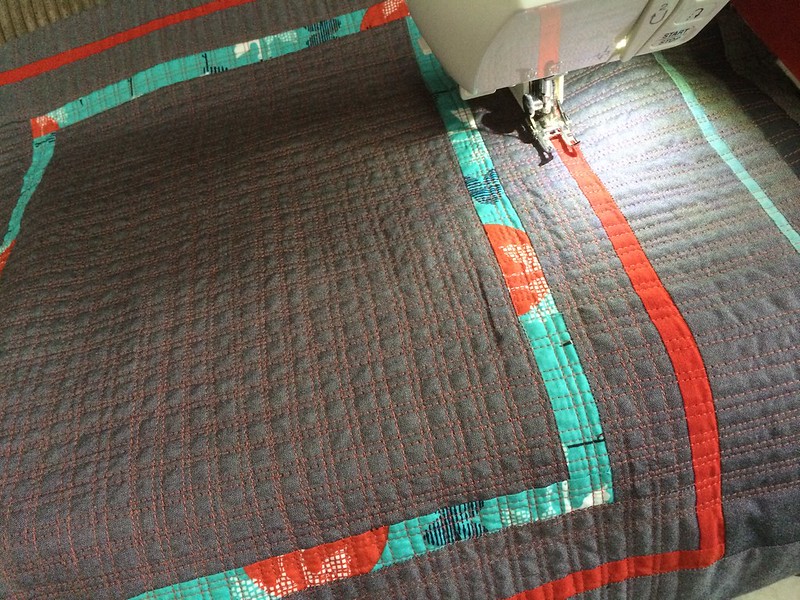
Once I had it pieced, I used the leftover shots on the back, and then grid quilted the thing to death.  That took some time.  I echoed the borders a bit with the thread colours.

Then I got out the rotary cutter. At this point, my great idea seemed a little nuts. I held my breath,  began my meditation (It's only fabric, only fabric, only fabric....ohmmmmm...) and cut away.

Now onto the binding!  It was important to me that the borders not be broken even though I'd mercilessly cut them to shreds moments before.  So, I pieced together the bindings from the leftover border pieces.  I made a separate strip for each side of each piece (what???)  I'm not so good at calculating the exact amount of fabric taken up in a binding corner so I sewed the long strips and used Linda's binding method with the mitred corners.  It's probably the best way to do a matched binding. Linda rocks.

How did I keep it matched all the way down? Good question! Three things.
1) I moved my needle one more notch to the right to account for "quilt shrinkage" - think exact 1/4" instead of scant.  On a larger piece, you'd have to measure the finished width of each chunk but this was small enough I could fudge it with my non-scant seam allowance.
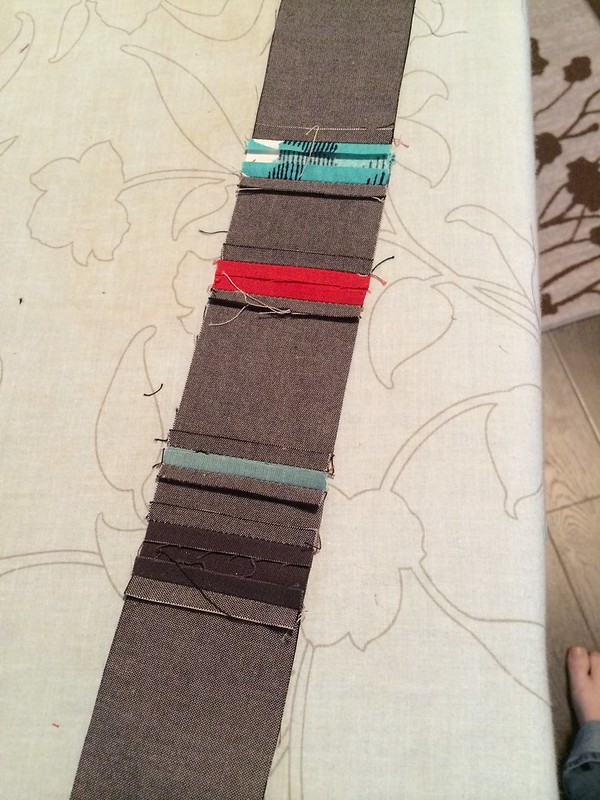
2) After piecing and pressing my bindings, I ran a basting stitch 1/8"(ish) from the edge down each to secure the top and bottom together.
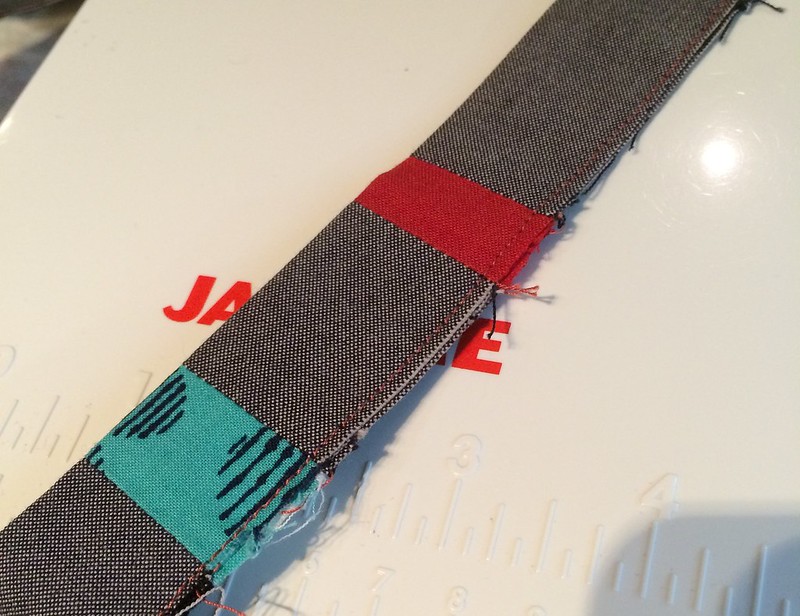
3) Glue. Lots and lots of glue. Wonderclips. Hot iron to set.

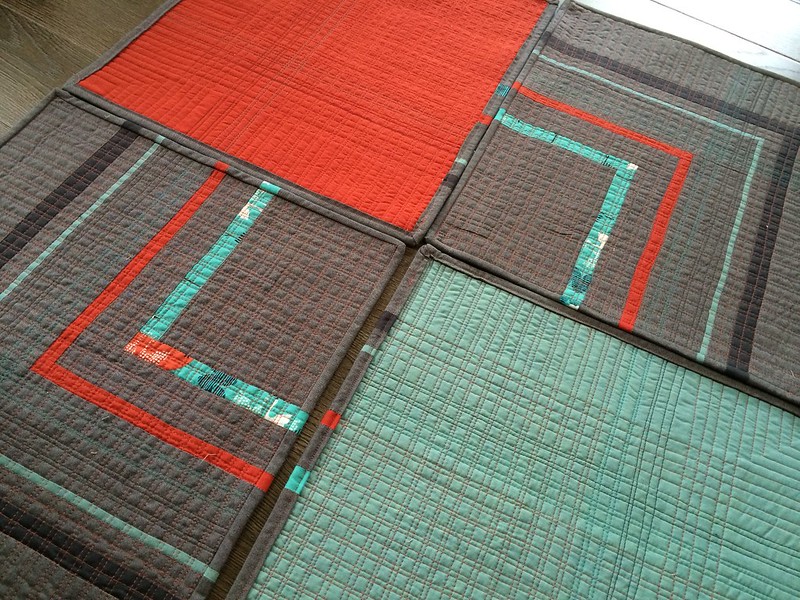
Once the corners were mitred, I knew there was no way I was going to be able to hand-finish these bindings with the uber-dense quilting.  Machine-binding and I have not gotten along in the past; I've always thought it turned out messy and ugly, and way less satisfying.

Solution?  More glue!  I burned through about half a Sew-line glue pen on this project but it was so worth it.  Altogether, the bindings took less time than the quilting, even if you allow for re-reading the mitre tutorial twice to remember what I did the last time. They look like more work than they were.
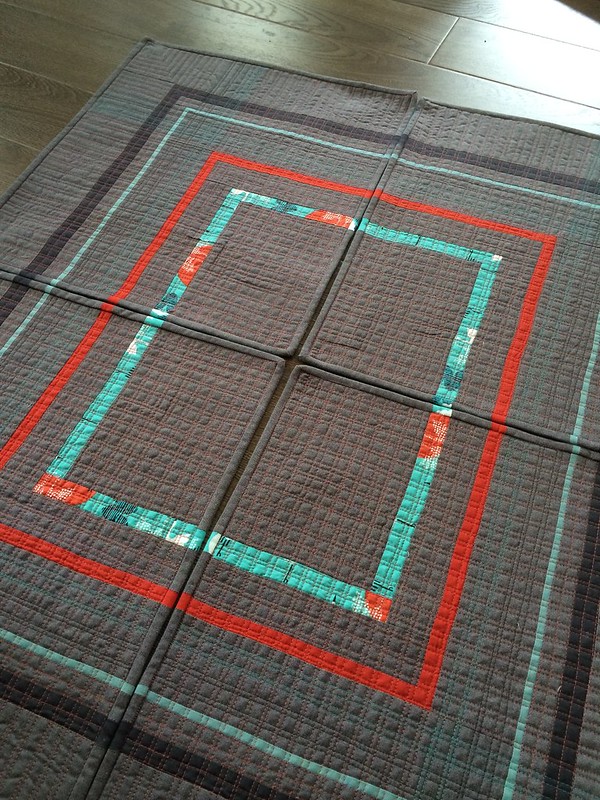
And there you go - placemats!  Challenge conquered.  Next challenge?  Trying to photograph the clothing-making rampage I've gone on this summer... :-)

Sunday, May 25, 2014

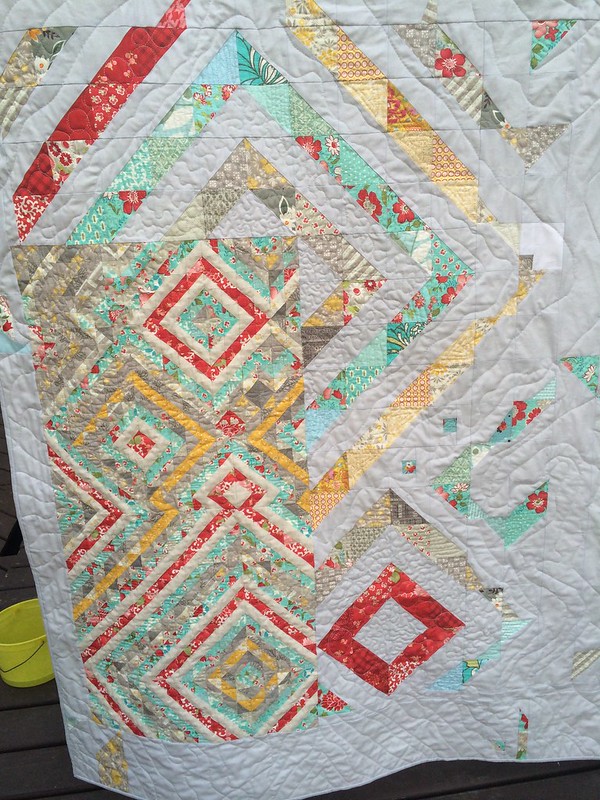
Finished: The One Less Traveled By

Whew! The Bloggers' Quilt Festival can take a lot out of you!  I think I saw them all.... And appreciated all the lovely comments back and forth.  I had a few that were no-reply which always makes me a little sad so if you didn't get a reply, that's the reason.

Anyhoo!  The Saskatoon Modern Quilt Guild had a UFO challenge.  "UFO" is always a challenge for me since I rarely have any.  I tend to stick to only a few projects at a time and frequently go full-steam-ahead until they're done.   I do have ONE long-term UFO but it's in storage and I haven't seen it in years. If it has survived the storage process, I will finish it likely as soon as it's freed.  Other than that, I don't think I have anything that has been waiting more than two years.

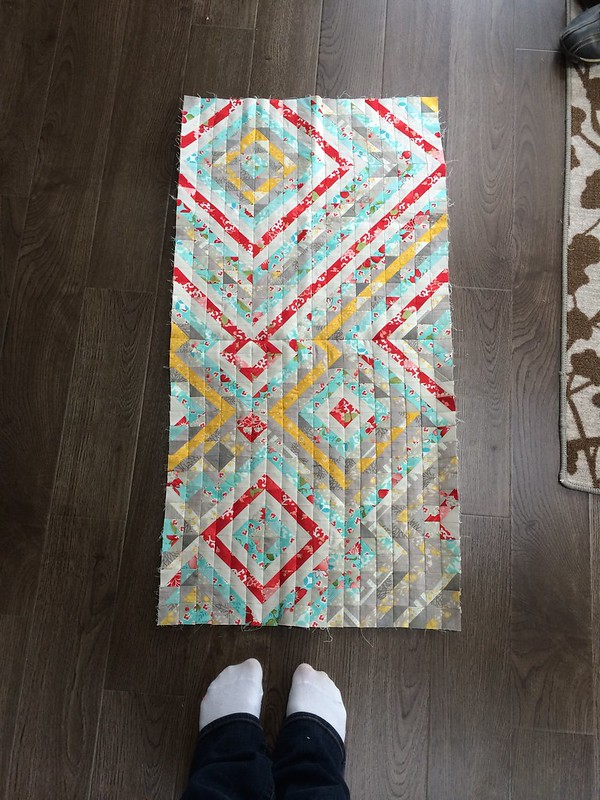
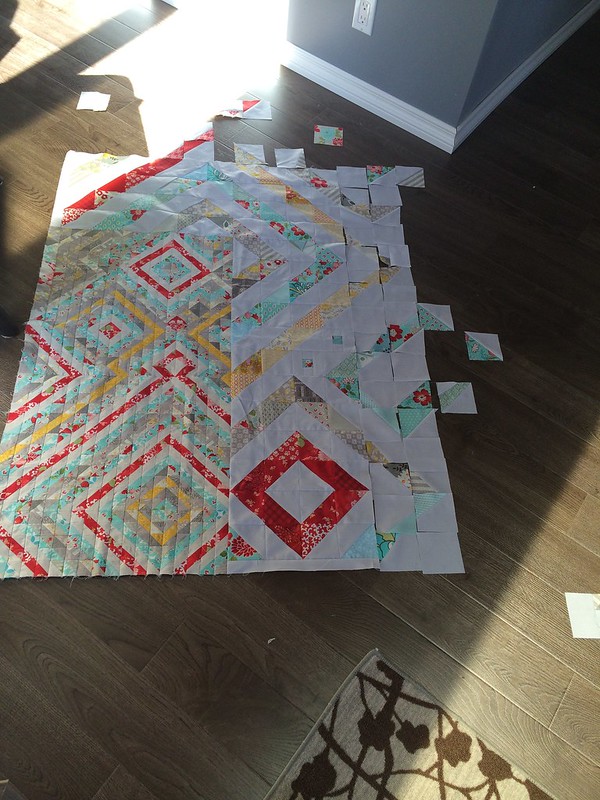
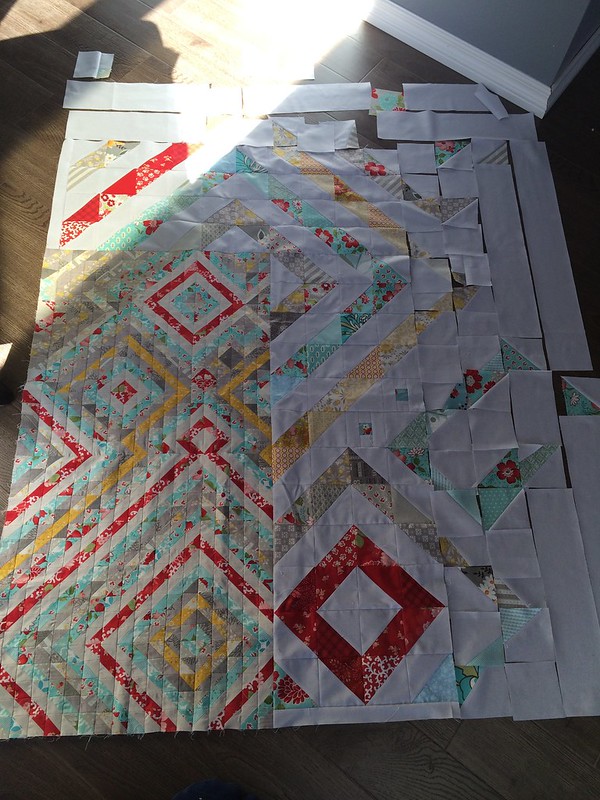
I did have a crap ton of HSTs rescued and salvaged from other projects (specifically ones for my sister). They've been trimmed up in little bunches of 1.5" squares at Wednesday guild gatherings for months and months.  I'm not saying people made fun of me, but more than one of my quilty friends questioned my sanity. :-)  The intent was always to make a trip around the world or something like it. So the time had come to do something with it. So I dug into the scraps and grabbed my Kona Silver yardage and went nuts.

It started with tiny but traditional,
then moved to tiny but a little more irregular,

to larger,
to very irregular....
like a set of paths not quite found by feet yet.

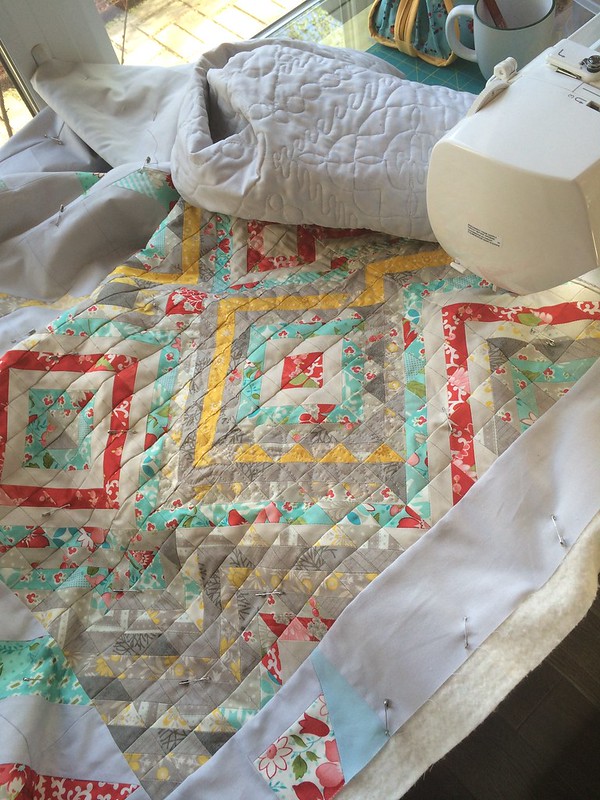
The quilting is.... uhm, not my best. I rushed a little in a push to meet the deadline (I have never not finished a SMQG challenge!)  I'm a little out of practice and always more convinced of my skills before I sit down to use them.  However, I more or less got the look I was going for: more tiny and structured in the wee blocks, loose and watery as it moves outward.  I'll try to remember to either leave time or to take more next project.

I added a couple of blue chunks to the binding, letting them fall wherever.  The back is unspectacular and with fading light and borrowed quilt holding help, I totally forgot to snap a picture of it.   It's most silver with a little piece of blue floral.

Approx: 68x78"
More than 650 - 1.5" HSTs salvaged and used up.  (I have about 6 left over...)  One GIANT ziploc bag no longer crowding my sewing space.  And I am content.

Monday, October 21, 2013

Finished Quilt: Inspired by Star Trek: The Doomed Lieutenant"

Broken record here. Haven't posted, yada yada. Busy, catching up, yada yada. Where does the time go, yada yada. And how do you (completely crazy - in a nice way) people who post once (or more) a day find the time? Yada yada.

***

We had a long-running challenge over at the Saskatoon Modern Quilt Guild for the summer.  The idea was to make a quilt "Inspired by" something that had meaning for us and to tell the story at the meeting at the end of September.

I racked my brain.  And then, after watching Star Trek (the new one but not the new, new one - Pine but no Cumberbatch) for the umpteenth time, it hit me:  I'm a nerd. And that's my inspiration.

Quilting and sci-fi have a little in common.

1) Those who aren't a fan, don't necessarily understand the draw.  We've all had a conversation with someone who doesn't get why we take perfectly good fabric and cut it apart only to sew it back together again. Or why we HAVE to HAVE the entire line of fabric from Designer X and hoard it until the end of time!  Sci-fi nerds often get odd looks when folks don't recognize a reference or understand the Twitterverse exploding over a new movie, graphic novel or tv show coming out.

2) A language used by 'insiders' - think fat quarters, tumblers, scant 1/4", HSTs, FMQ for quilting...  Lightsabers, phasers, Daleks for sci-fi. Or in the case of this quilt, Red Shirt.

red shirt: the throwaway character on a science fiction episode, (namely Star Trek), who will be dead by the end of the episode, identifiable by his red uniform

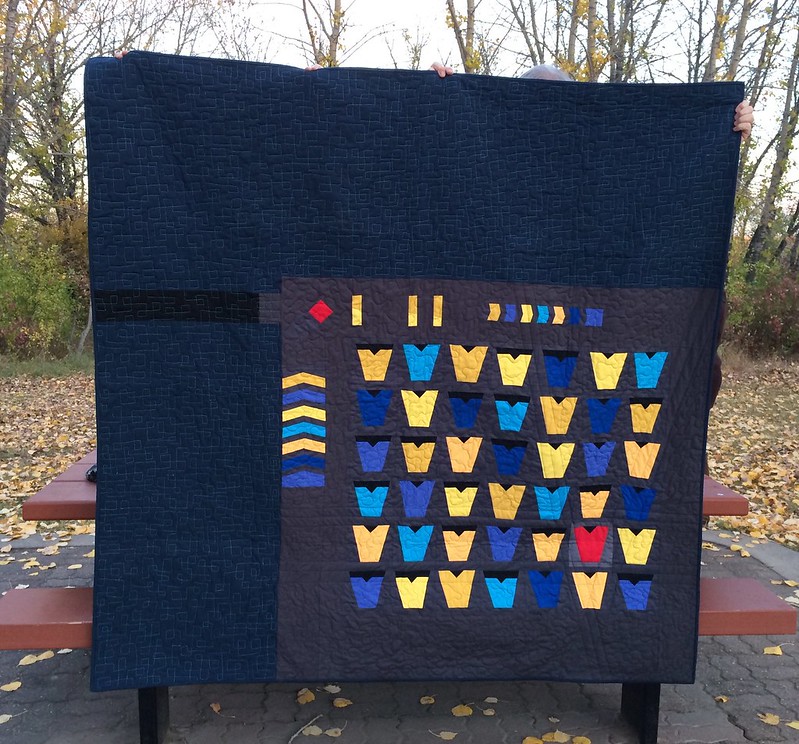
I present to you my latest quilt.  Inspired by Star Trek: The Doomed Lieutenant.

This quilt relies on the idea of the Red Shirt - a no-name officer who'll be toast before long so we don't lose a main character.  Poor Red Shirt, whatever his name is. Was.

It ended badly for him.

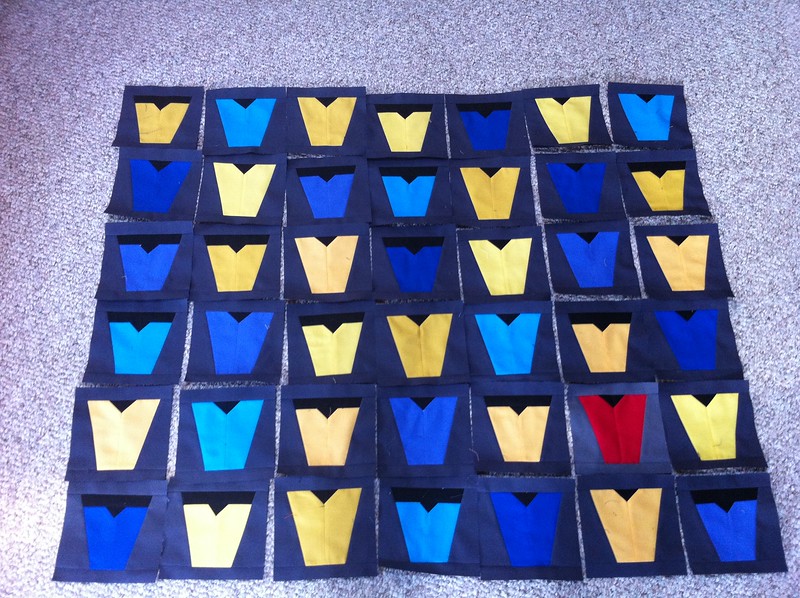
Colours for this quilt were chosen based on what I've observed from Star Trek over the years.  Tumblers represent officers, the navy background is the 'final frontier', and the teal thread sort of makes it sparkly but in a throwback, retro-space way.  I'm really happy with how the quilting turned out.

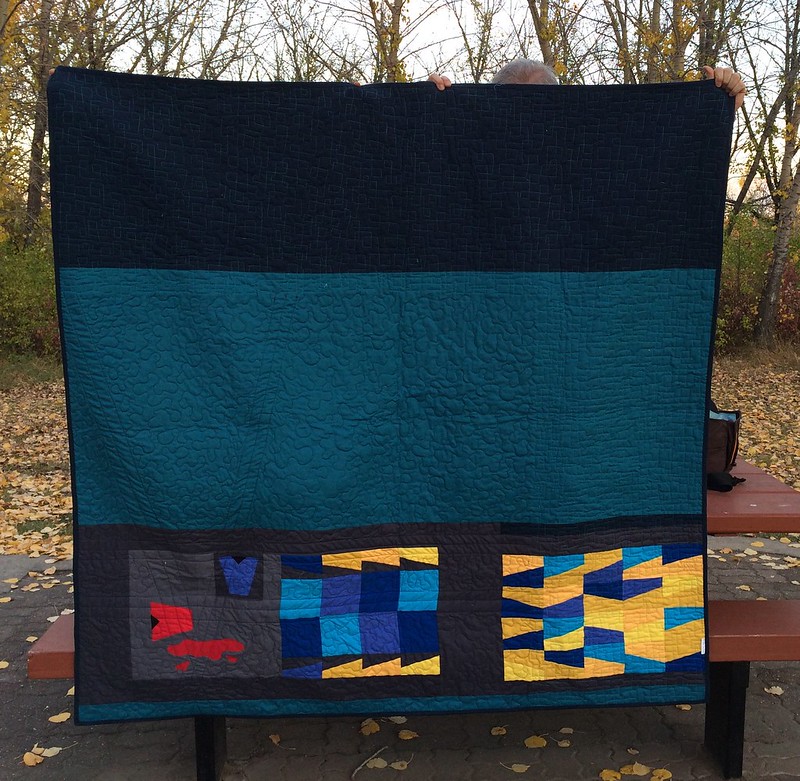
The back was put together using the leftover tumbler halves and yardage.  Approx. 71" wide.

As a bonus nerd Easter egg, there are 42 little uniformed officers on the front of this quilt. Yep, I'm a nerd... :-)  And a proud one.
***

Ok - Gotta go catch up. Again!  Trying to finish before the Blogger's Quilt Festival this weekend...!

Saturday, August 31, 2013

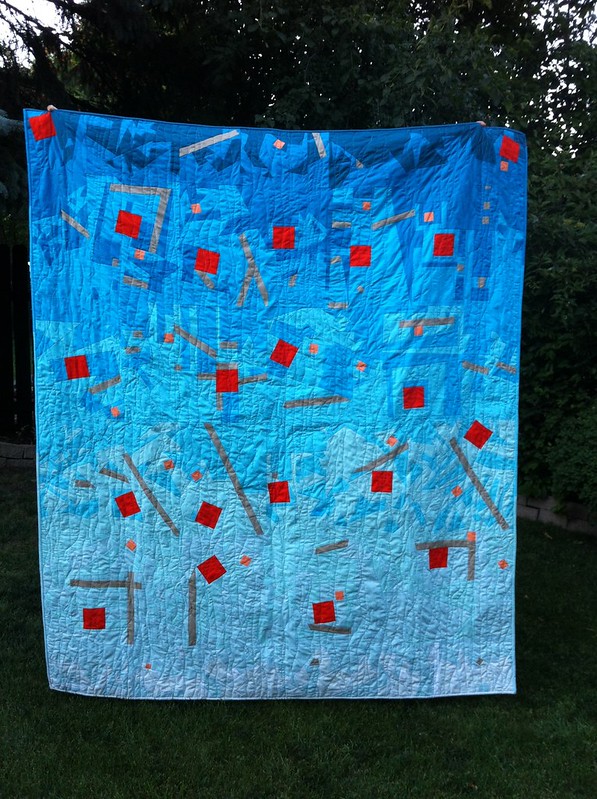
Finished: Flowers Over Falls - Simply Solids Bee Quilt

Yeah, I fell off the face of the earth again.  It's been a slice.  I'll spare you the details.

I have a few things I've been meaning to share and I'll get to them.  I truly want to catch up on all the things I've missed - and I have missed you all and your projects and your wit and your insights.  I have just been incredibly unplugged this summer, and I think that's a good thing. Back to teaching on Tuesday so I imagine my routines will start coming back slowly but surely. (And I owe more than a few emails....)

I HAVE managed to finish my Simply Solids Bee quilt.  June was my month and while one bee member dropped out, an awesome block friend from UK (Hi, Susan!) offered to make one for me.  SO cool!!
One must always have a tall person in the family - thanks, bro!

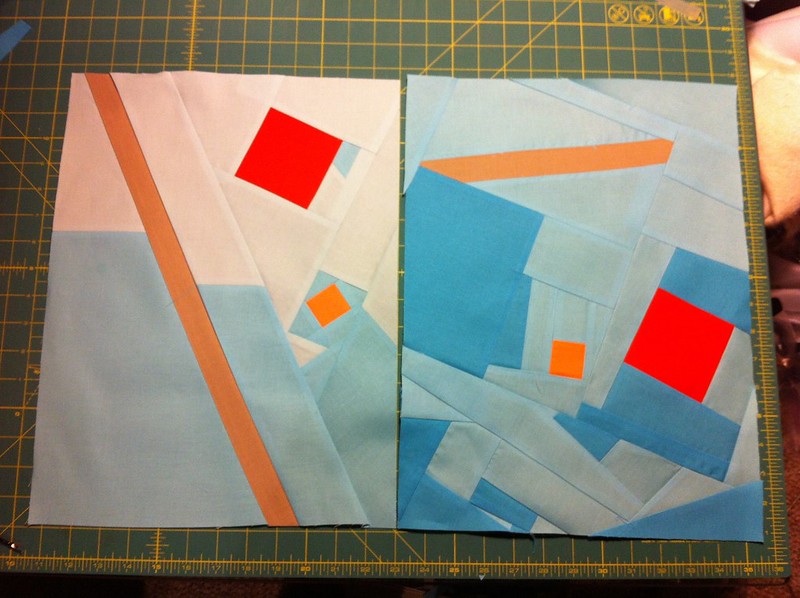
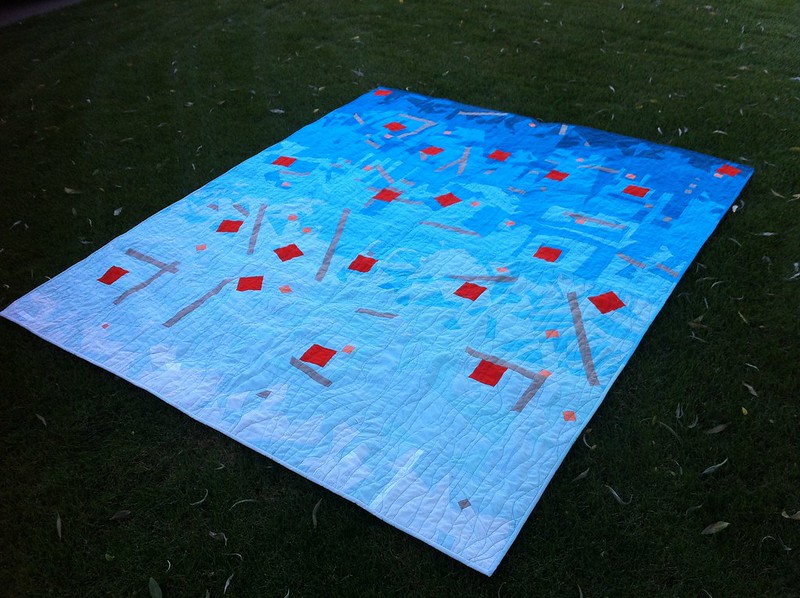
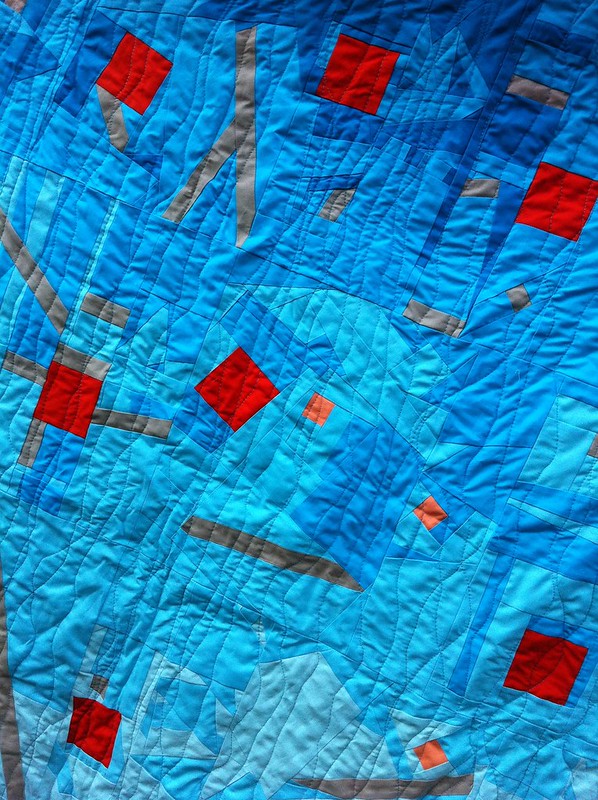
My concept for this quilt was the idea of flowers and twigs heading over a waterfall.  Each of my bee mates got two shades of blue, two squares of orange, a strip of tan (all Kona) and instructions to improv-piece an abstract block that measured 12.5 x 16.5". (See my post here for more details...)
And they did a beautiful job!!  I made the sashing strips and borders ( also improvised) from the scraps they sent back and spare yardage.
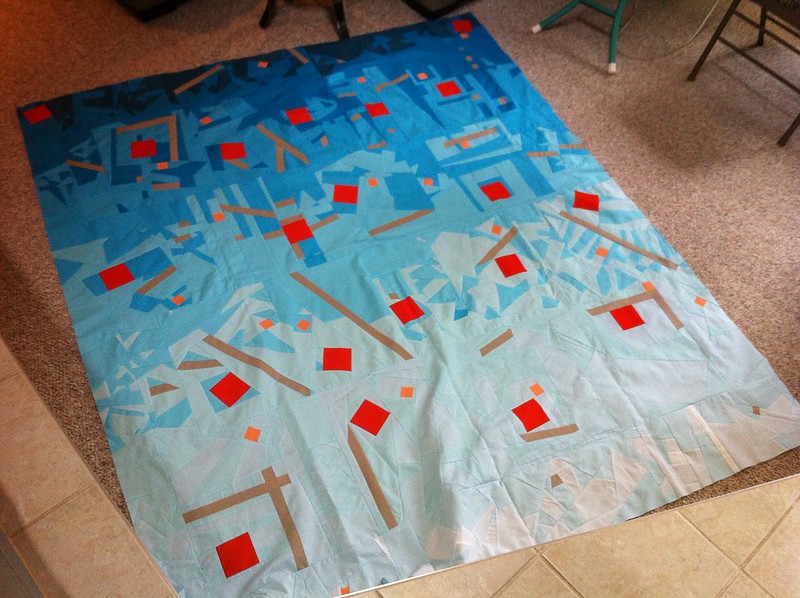
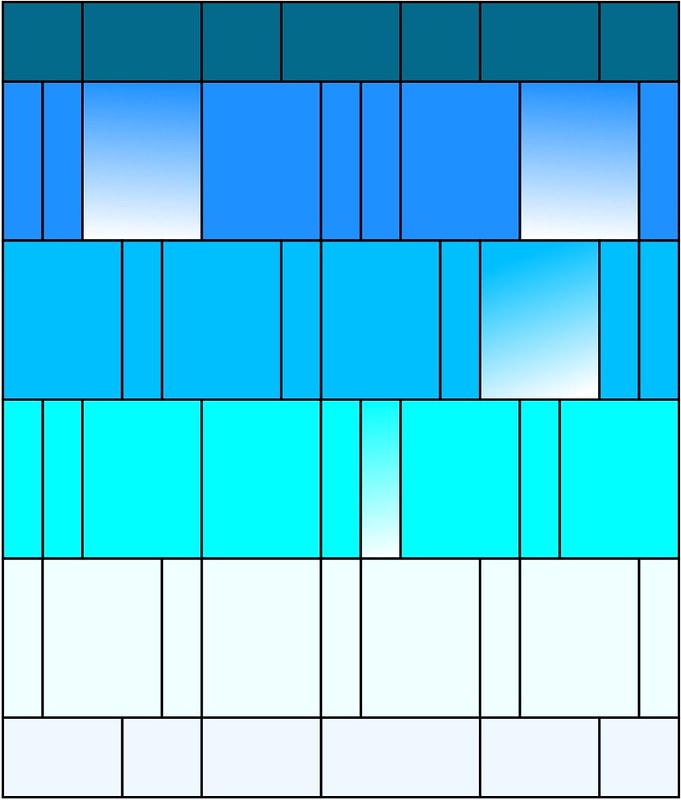
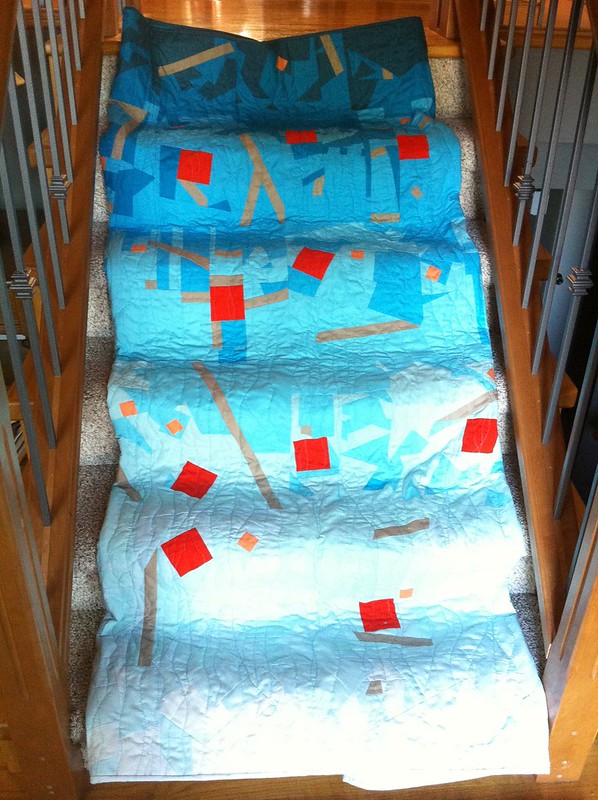
Then I sewed the top together - but in keeping with the improv/modern/abstract idea, I didn't use a traditional layout.  The layout actually looks like this:

All together, there are 7 blues (sky, aqua, baby blue, bahama blue, peacock, turquoise and teal), two oranges (mango and flame) and two neutrals (white and stone). There are only a few scraps of white. I tossed them in with the sky blue so that the sky blue looked blue and not white!

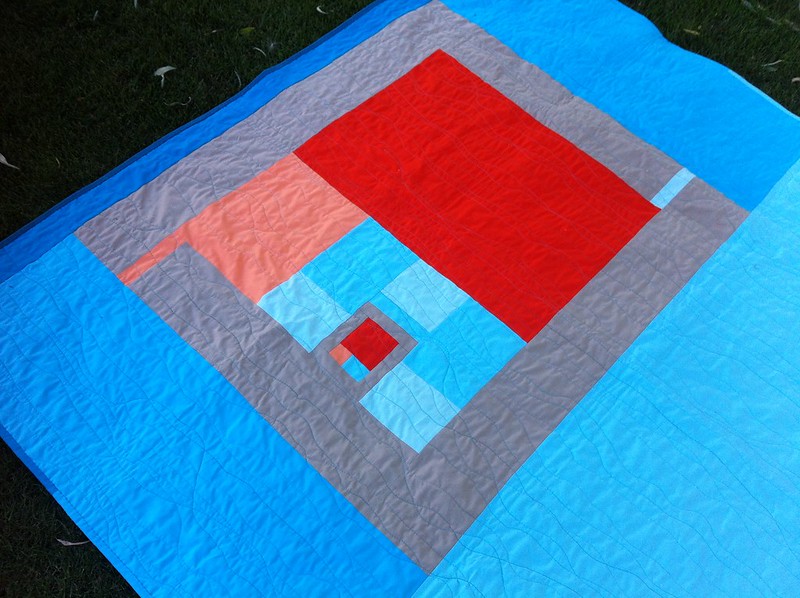
There was one block that I absolutely loved but try as I might, I couldn't make it work with the rest of the improv blocks.  It broke my heart until I figured I could showcase it on the back and actually build the back to echo that block.  The entire back is a reflection of that block and uses up all the leftover yardage.

It's quilted with watery lines in three shades of blue thread.

I matched the binding to the gradient I'd created with the blocks so that the quilt appears borderless.  And I'm really happy with how it turned out. To make it work, I used Flourishing Palms' french-style binding method with great success. (Thanks, Linda!)

This might be one of my favourite quilts of all time!  I'm chuffed to bits with how it turned out and I have my very talented bee mates to thank for it (though some of them wanted to kill me... Oops. :-).
Faux art-shot....  Does it look like water over rocks? hahahaha.
Flowers Over Falls is about 68x80" and contains the handiwork of the Aeneous Group of the Simply Solids Modern Bee and Susan of Canadian Abroad.

Thanks so much, you talented bunch, you!!  I'm glad I managed to get it finished for an upcoming show in October AND before my birthday today/yesterday (30th).

This is me at 35. And 35 feels lovely.

Wednesday, August 7, 2013

Oops!: Now with Finishes.

I had considered calling it Oops!: The Musical, but I couldn't get song rights. :-P

Seems like I forgot to check the internet for a month.  Oops.  Maybe it's a failure to really dig into the new routine or just a need to spend less time with my computer but I've definitely tried to prioritize other things this summer than blogging and blog-reading.  You do NOT want to know how many unread posts are in my Feedly....

I have been busy with the following:  meeting blog peeps in person!, sewing, knitting, teaching Nephew a bunch of stuff his mother doesn't approve of, hiding in dark basements away from sunlight, teaching English as an Additional Language, offering my shoulder, cooking while listening to loud music and kitchen-dancing, watching just about every CFL game (something has to fill the void between hockey seasons....), and reading actual, physical books.  Books, people! Remember those? I love real books, but man, I have a hard time sitting still long enough to get "gripped".

Anyhoo.  I'll ease back into the (ir)regular blogging routine with some finishes I meant to post ages ago.  A couple of months ago, I was giving a little presentation on QAYG at the Saskatoon MQG as part of our meeting.  I had done up a few slapdash sample pieces using scraps and 12" batting squares just to illustrate some things that I'd learned for the prez.  And then, of course, I'm left with these little thingies and no plan.  Blergh.  So I just started throwing them together.

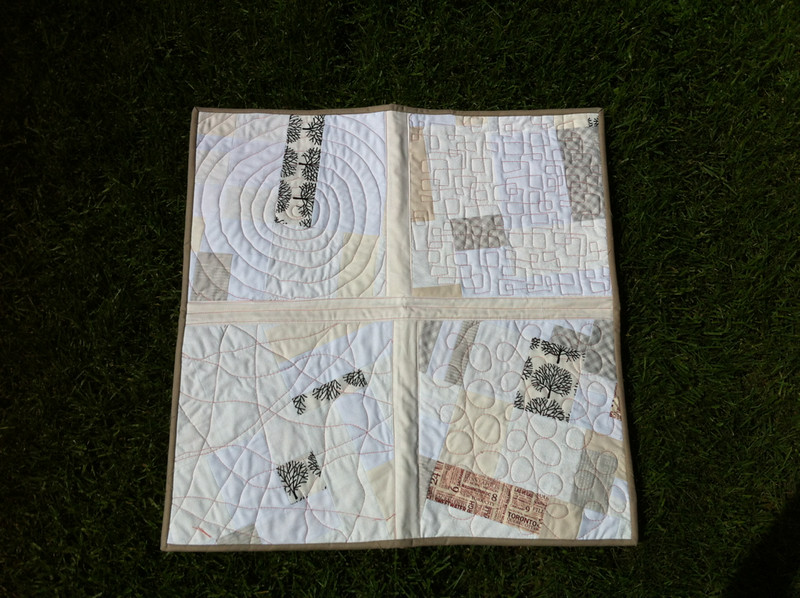
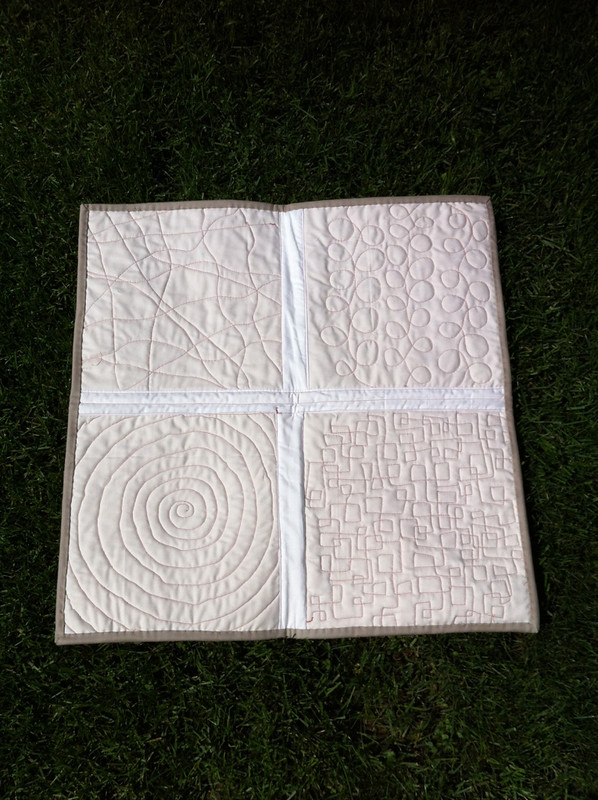
I ended up with two mug rugs from my piles of scrap,
a mini table topper,
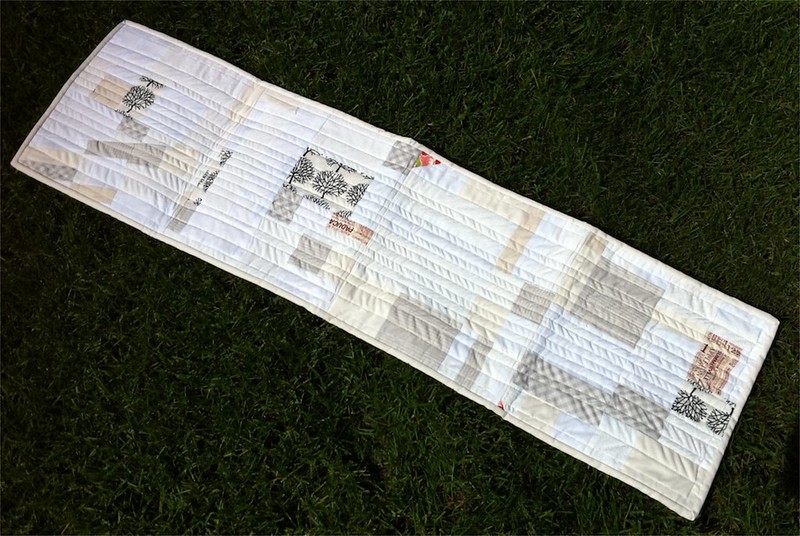
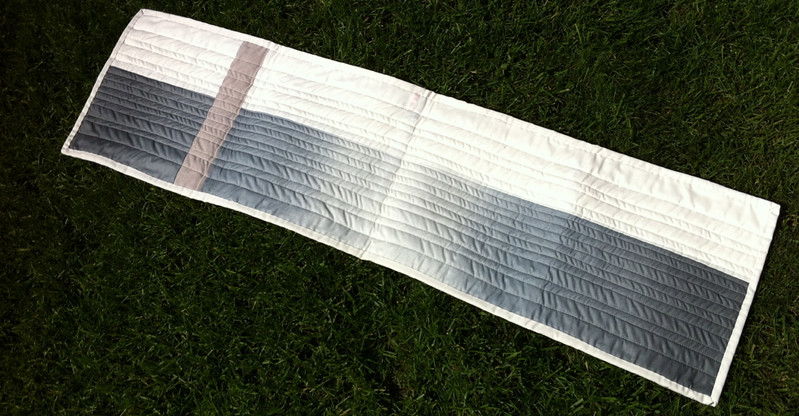
and a coffee table runner.
The white on white chunks are leftovers from my brother's Punisher quilt.  The muslin that backed most of these was from yardage, but that too was leftover from another project so I call it a win.  Even the binding was from the leftover basket.  The batting was scrap that had been cut into 12" squares just for practicing free-motion.

Is this my best quilting/sewing? Heck, no, but I used up some scraps , I learned some techniques, and if I spill something on them, I won't cry for days. So there you go.  Not every piece has to be show-worthy.  I think these are like the quilt version of sweat pants. I wouldn't show them off to fancy company, but to protect a table from Hot Wheels or the carpet from living room picnics, they're just fine. :-)
And now I have a month's worth of blogs to catch up on. Again.

Sunday, June 30, 2013

Opportunity to Help: Slabs for Calgary

Hi all!

I'm headed south for the day - spending time with family.  Some of whom are moving to Calgary.

Speaking of Calgary....

If you live in Canada, you'll no doubt have seen the devastation in Alberta on the news. (Or in person - our prayers are with you!)

The Saskatoon Modern Quilt Guild is throwing their support behind Just One Slab - Quilts Recover - Southern Alberta. We're making slab blocks!

It's a fantastic way to use up some pesky scraps and do some good will sewing.

To learn more, (especially if you're in Saskatoon):  Check out our post on Saskatoon Modern Quilt Guild

OR

Cheryl's Just One Slab post at Dining Room Empire.

Have a safe (and dry!!) Canada Day long weekend!

Every block - made with love!

Tuesday, June 25, 2013

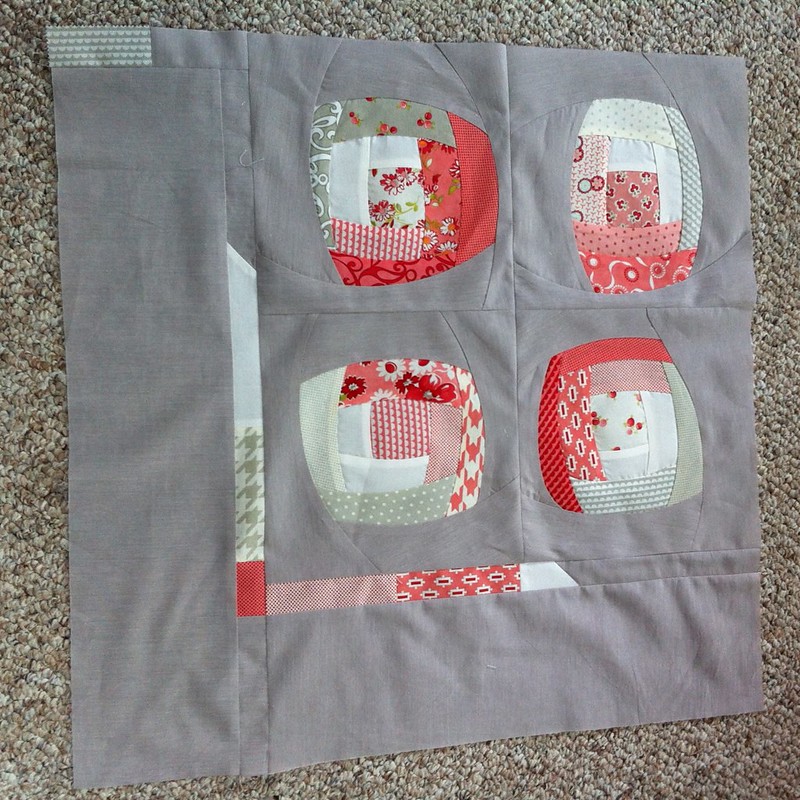
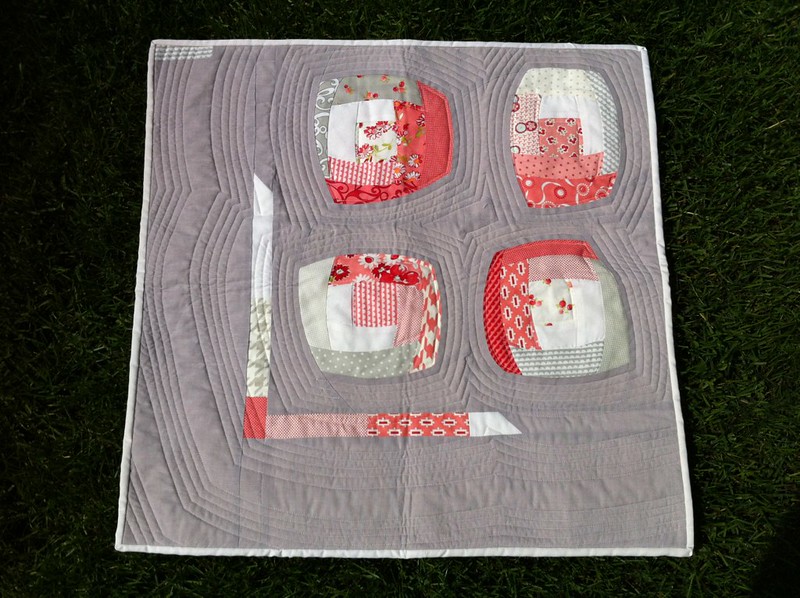
Finished: Pod Bay Cabin Doors

Okay, so two months ago, our guild issued a "make it modern" challenge: Take a traditional block and put a modern spin on it.

Due date was this past Sunday.  As of Friday at midnight, I had bupkis. Blargh!!! (I almost sent a strongly worded email to the demon-seed whose cockamamie idea this was before I remembered it was me and Jaclyn. Oops!)  I had been tossed around the idea of a snail's trail, only curved, and no amount of sketching or logic could make that happen for me.  But I do love me a log cabin so Saturday morning, I started to play.

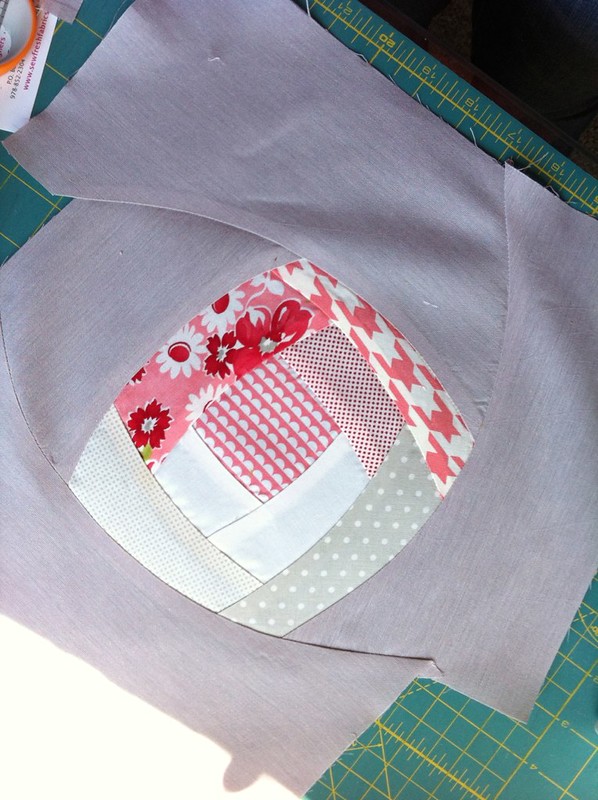
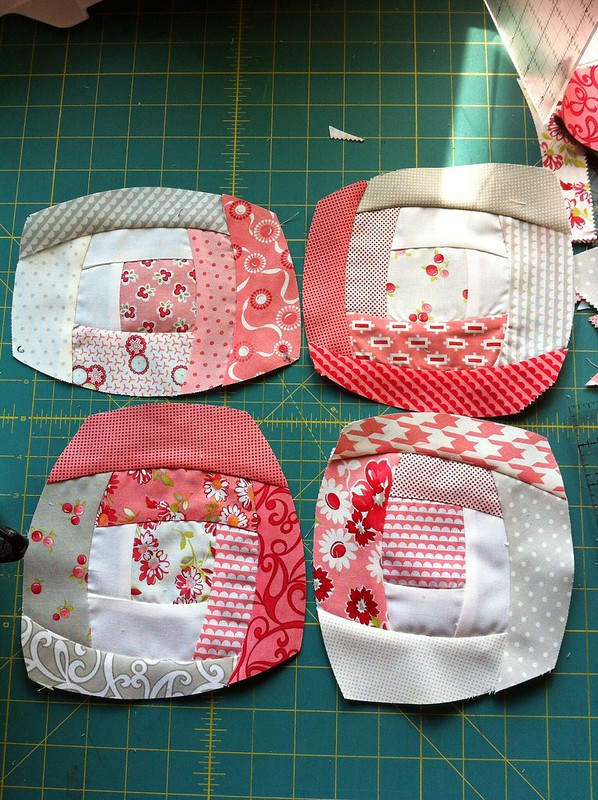
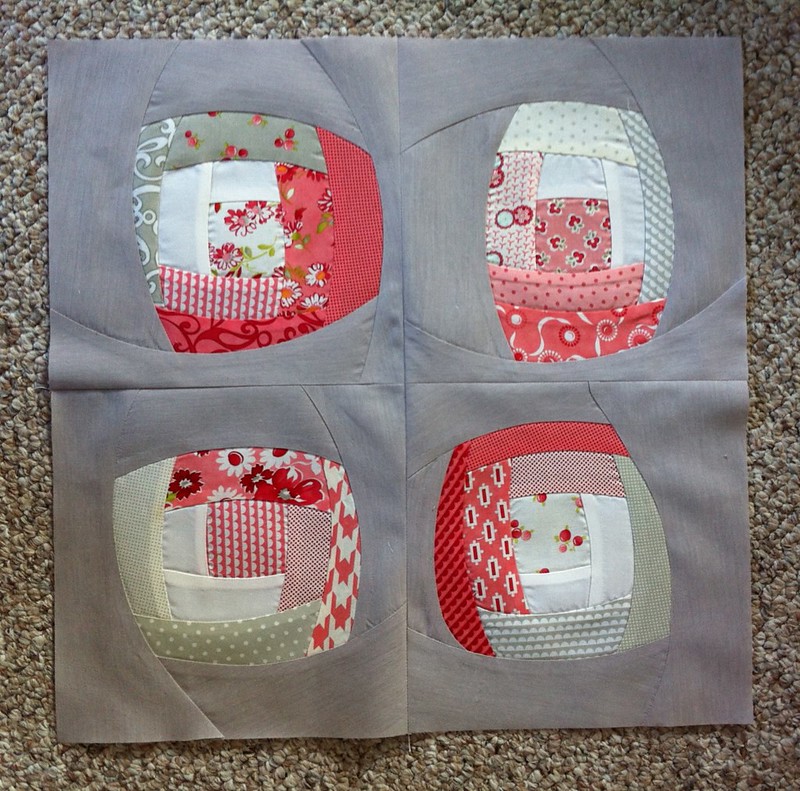
So I cut out some rounded squares using the Quick Curve ruler, and then went to town, log cabin style, demolishing some leftover charm squares.  I tried for a little while (okay, just twice) to do evenly measured, precise curves but ultimately just improv'd them using the ruler as a guide, not centring or measuring.  It was more fun that way.

And then I had pods.  Oooo-oooh!  What to do with those?  Join them together or isolate them?**

One lightning fast trip to the quilt shop for a yard of shot cotton later (seriously, I didn't even put on makeup...), and I was back to the machine, trimming out the blocks.

Hmmm. Nope, not done yet. Not modern enough.

There.

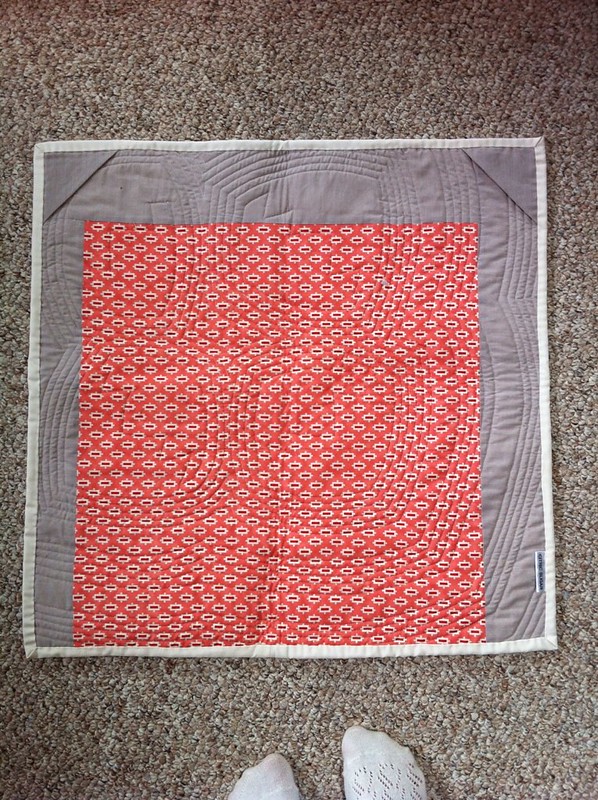
Back, baste, echo, bind.  One finished wall-hanging. Finished in time for the challenge deadline.
About 24" square.  Or two feet. Heehee.

I love it when a not-a-plan comes together!  I had a "yeah, I'm awesome" moment before I scorched a piece of fabric and remembered I'm human. :-)  I'm really happy with how it turned out - totally surprised myself and may be permanently over my fear of curves.  Also, starch is the bomb.
So, if you get lost on your way to a project, change where it is you want to go. :-)

**The name of the piece occurred to me at this moment which also made me isolate them instead of joining. I heard my nerd voice say, "Open the pod bay doors, HAL." Of course, Dave... Hey, I've never claimed to be normal. :-)
Saturday, June 15, 2013

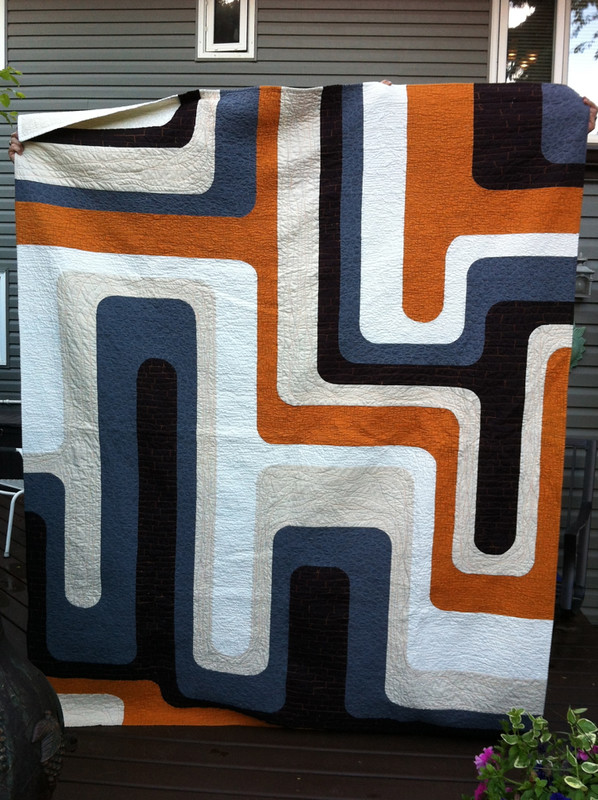
Finished: Sedimental Feeling (Feelin' Groovy)

So the last ten days have been a whirlwind.   Family events, lots of teaching, internet issues -  I won't bore you further but it seems that too often I end up with ten days worth of blog-reading to catch up on.

After starting, piecing and basting it in January, I finally finished this quilt last Saturday and relished the hand-binding time... And then it took me forever to find two people willing for even the briefest moment to hold it for pictures. I had to take them very quickly!!

I don't often do patterns anymore but I really liked this one when it first came out. It languished for a year or so, untouched.  And then there was a Groove-along last summer but budget and time kept me from joining up.  Plus, I just wasn't sure what I wanted to do with it.

I ended up coming across a picture of rocks - a whitish-grey with rusty orange stripes through it - and the gears started turning.  The pattern looked like sedimentary and metamorphic rocks, layered and folded over time.  (At least to my mind anyway - I'm far from a geologist.)  I picked a bunch of neutrals and added my favourite - orange - to be kinda oxide-ish.

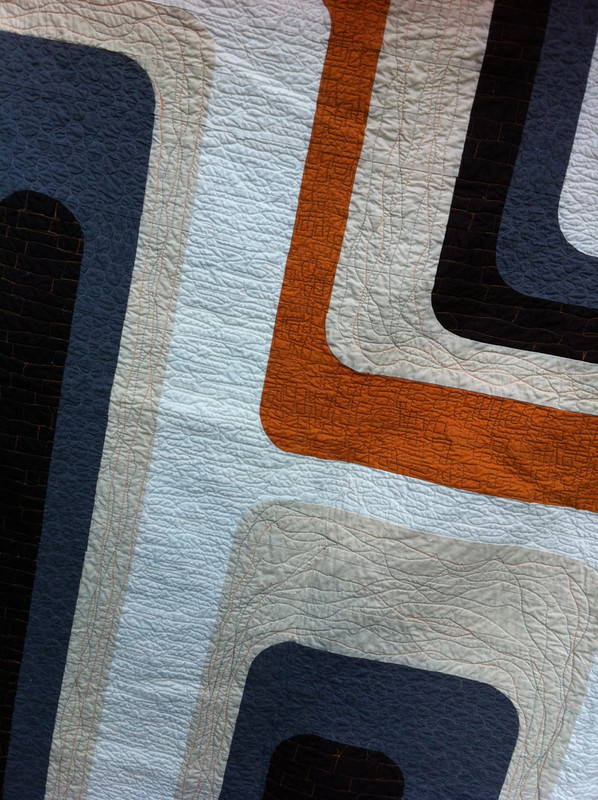
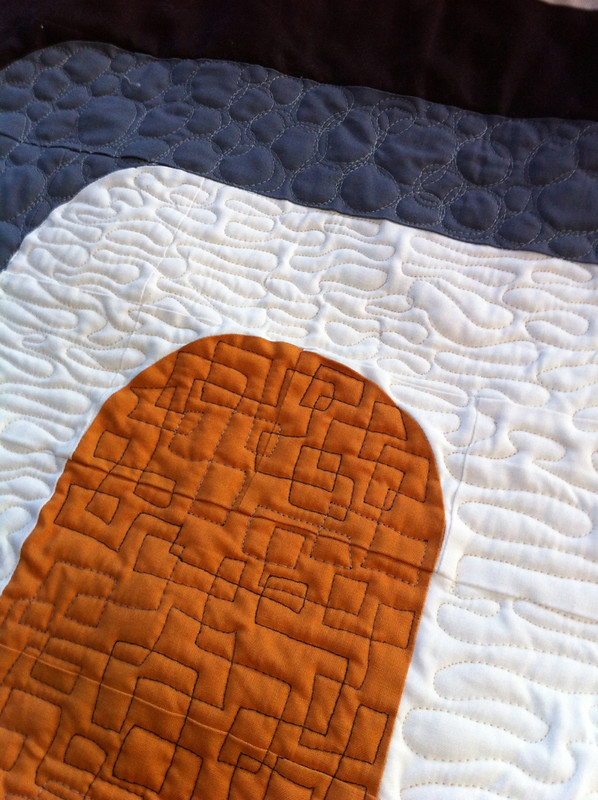
Wanting the quilting to be different for each colour, I scribbled a bunch of free-motion designs that had an abstract stone feel to them.  The grey has a pebbly, gravel texture to it.  The orange is more crystal-like and reminds me of quartz or potash.  The white is layered loops.  The brown I tried to make a little like shale - layered and broken.  And the natural I tried to make look like my inspiration - a solid coloured rock with bands of wavy colour running through it. I matched the thread to the fabrics but not to the sections.  Variegated brown on the orange, natural on the white, etc.

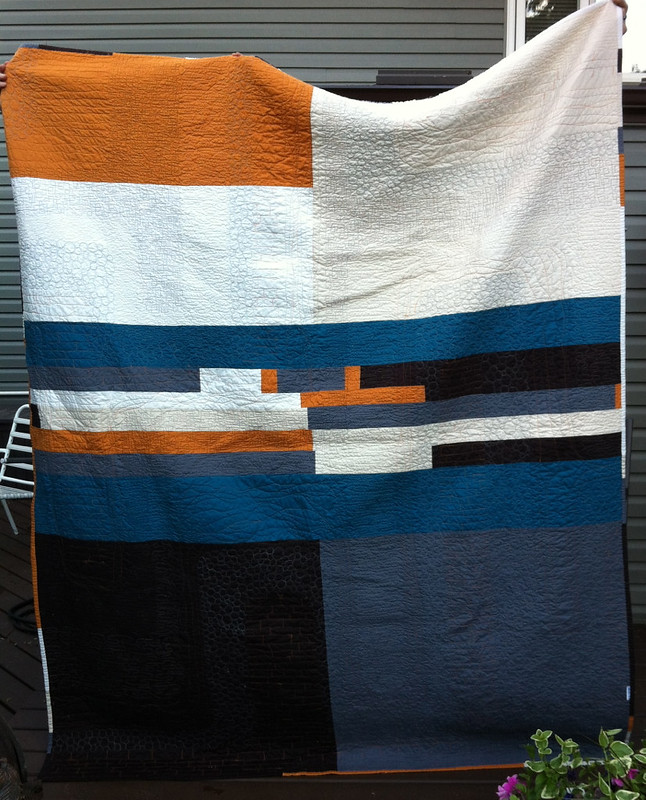
The back is composed of all the scraps and leftovers, plus a yard of teal to cover the shortfall.
Sorry for the dips along the top - cranky quilt holders! :-)

I didn't get a close-up but I did a semi-crazy thing and matched the binding to the top all the way around.

Sometimes, the binding on a quilt looks like a mini-border and breaks the visual of it.  Since I already knew how wide the sections were because of the pattern, I had the binding pieced before I even finished the quilt top.  The corners were tricky - as was accounting for quilting shrinkage - but I'm really please with how it turned out.

Haven't had a second to sew since.  Maybe on Monday.  Oh, and I have a surprise on Monday!  :-)  See you then!