In the busy-ness of my life, I am finding time to keep up with challenges. It's become a point of pride with me to not have missed a single challenge at SaskatoonMQG. The one due at the end of July? Make a modern border.

How do you do that? And who came up with this cockamamie challenge anyway? (Me. It was me.)
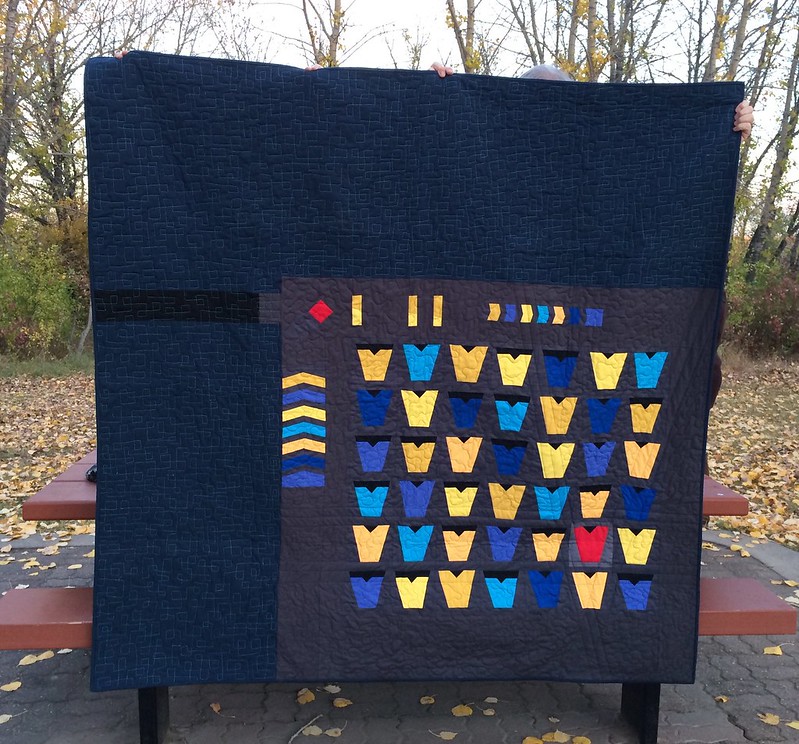
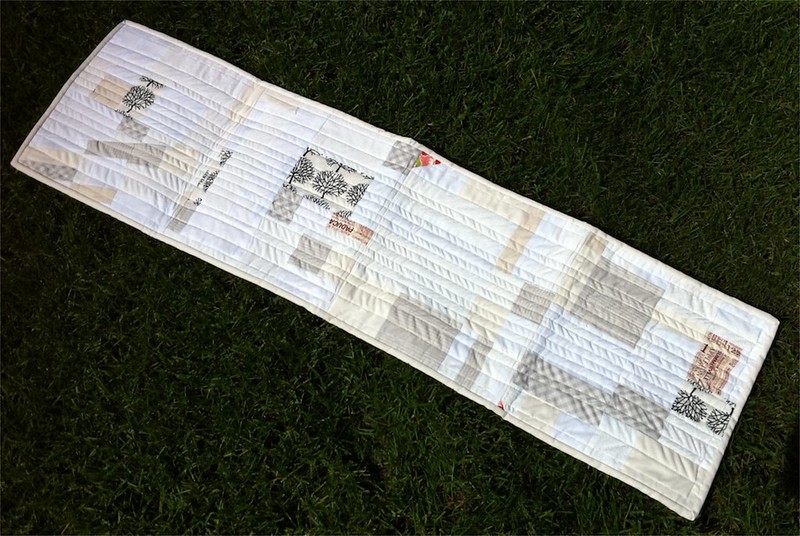
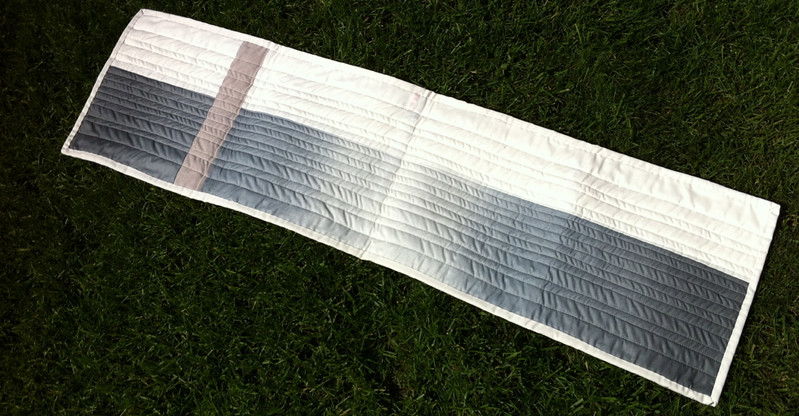
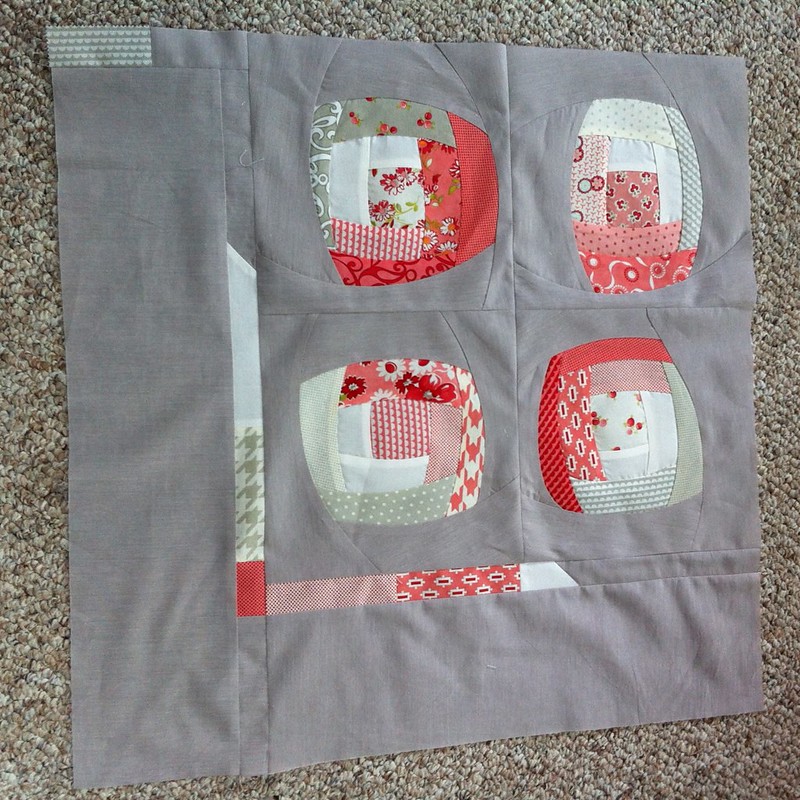
Fine. I'm making a piece that is ALL borders. That's right just one border after another. And then I'm going to cut it up so the borders don't even go all the way around. Yeah. Take that, challenge-comer-upper-with! (Again, me.)
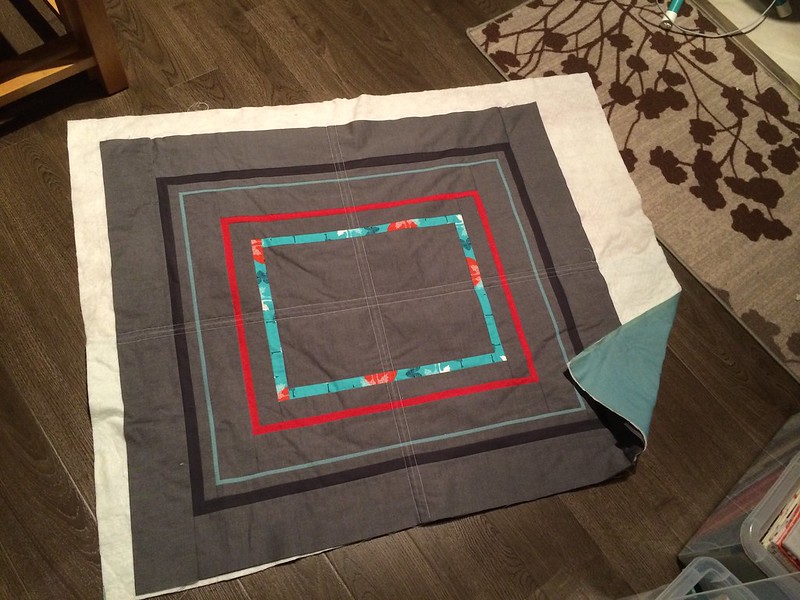
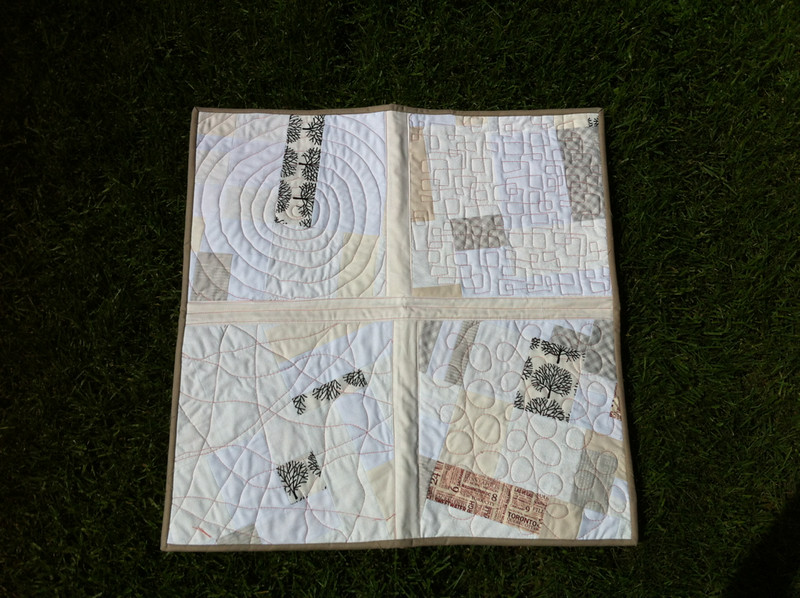
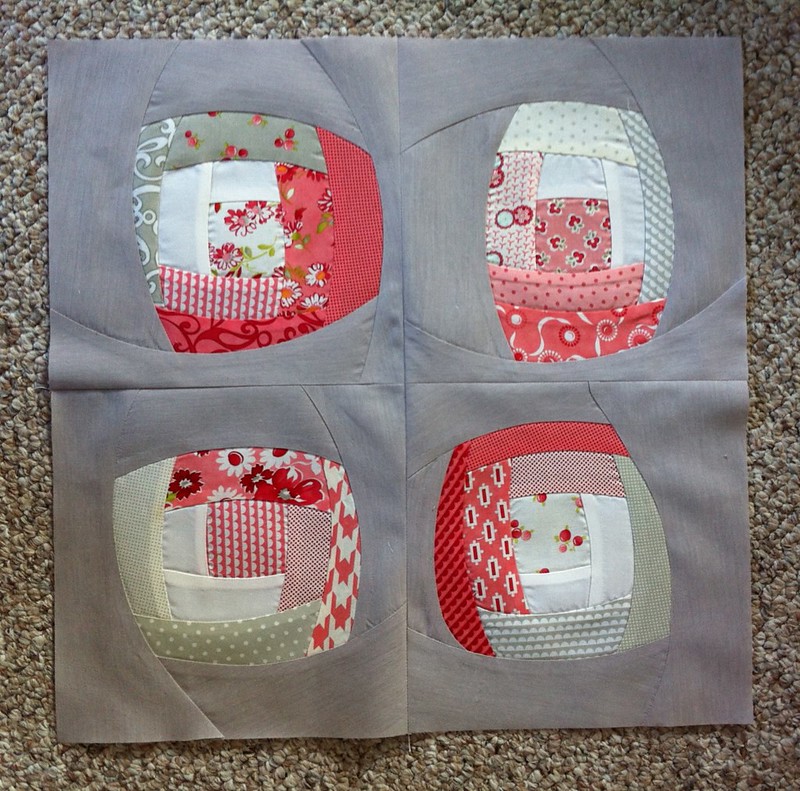
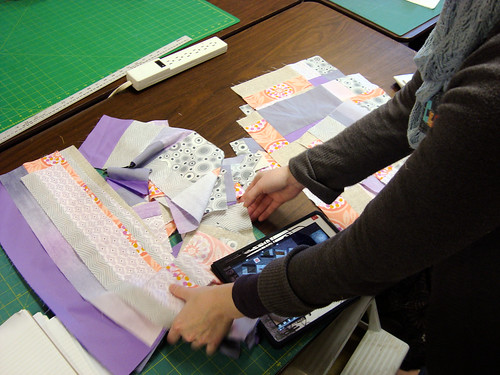
I started with some shots and chambray. Feels so luxurious in the hand. If only the shimmer of both showed up in photos...Threw in some Tsuru for good measure.
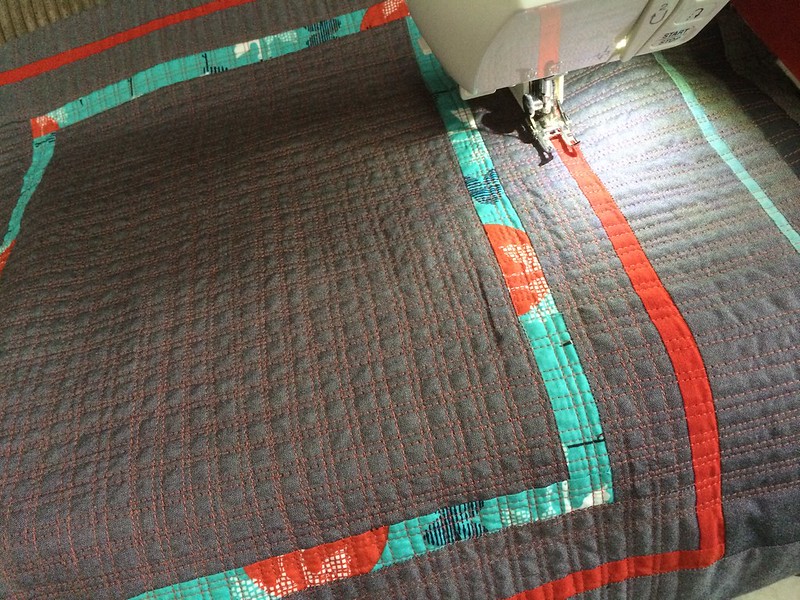
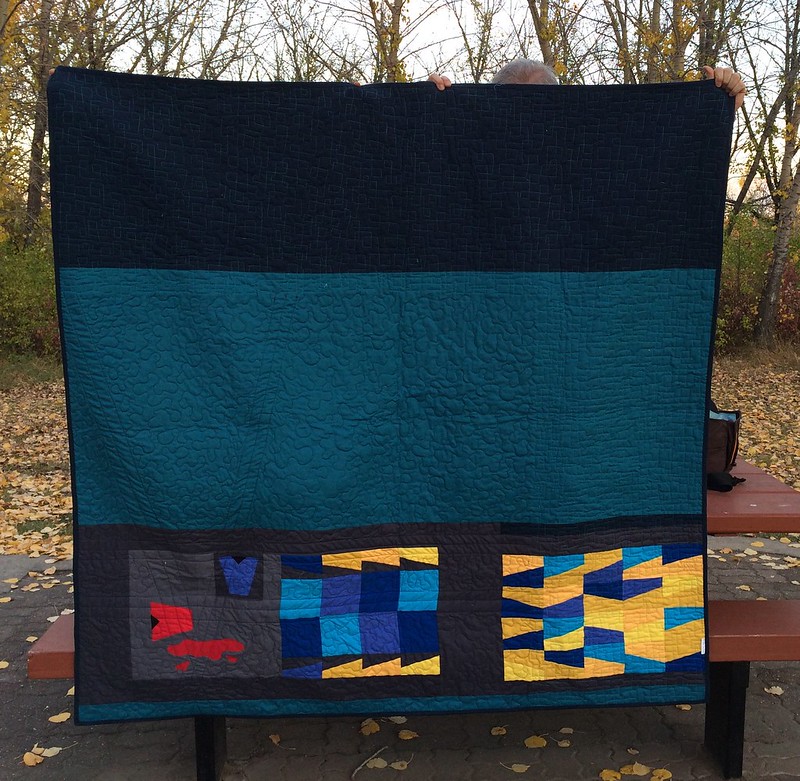
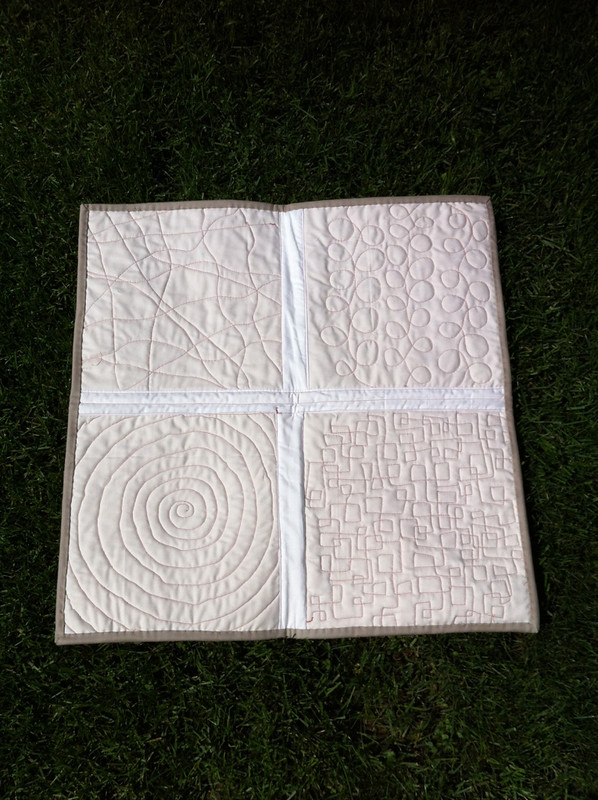
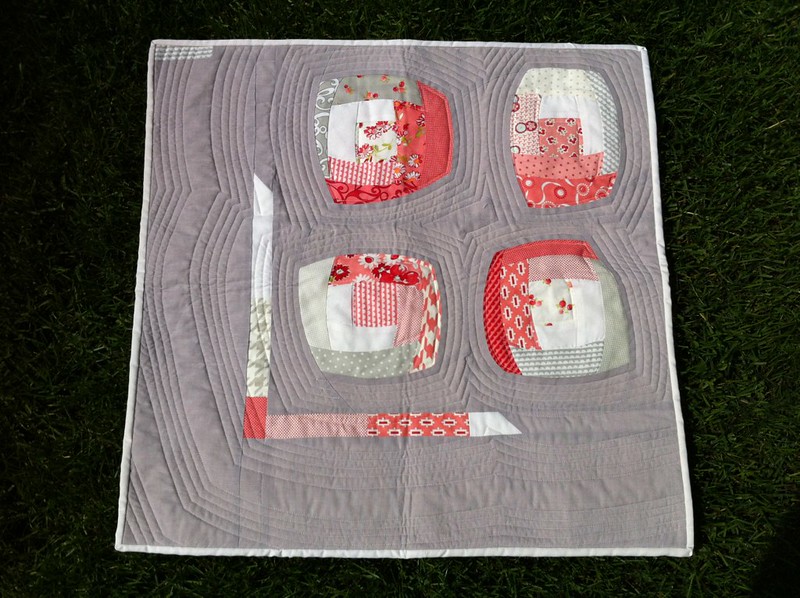
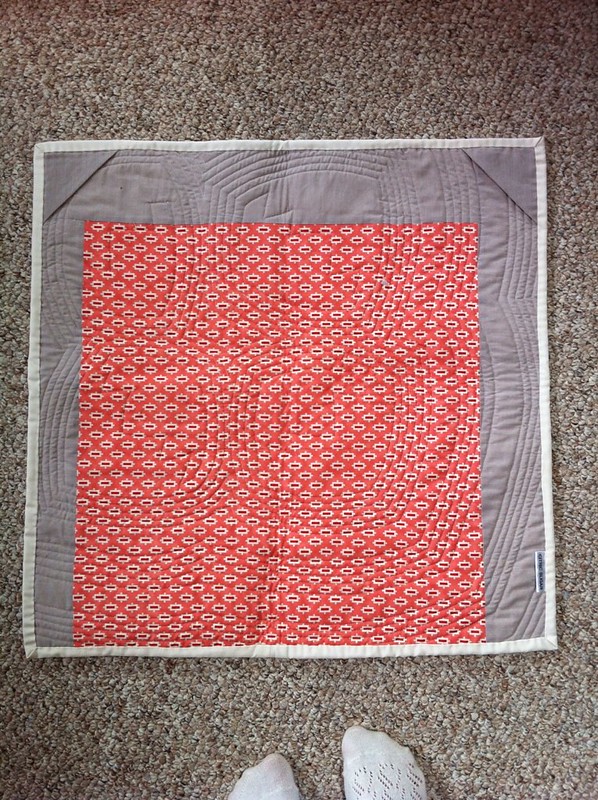
Once I had it pieced, I used the leftover shots on the back, and then grid quilted the thing to death. That took some time. I echoed the borders a bit with the thread colours.

Then I got out the rotary cutter. At this point, my great idea seemed a little nuts. I held my breath, began my meditation (It's only fabric, only fabric, only fabric....ohmmmmm...) and cut away.
Now onto the binding! It was important to me that the borders not be broken even though I'd mercilessly cut them to shreds moments before. So, I pieced together the bindings from the leftover border pieces. I made a separate strip for each side of each piece (what???) I'm not so good at calculating the exact amount of fabric taken up in a binding corner so I sewed the long strips and used Linda's binding method with the mitred corners. It's probably the best way to do a matched binding. Linda rocks.
How did I keep it matched all the way down? Good question! Three things.
1) I moved my needle one more notch to the right to account for "quilt shrinkage" - think exact 1/4" instead of scant. On a larger piece, you'd have to measure the finished width of each chunk but this was small enough I could fudge it with my non-scant seam allowance.
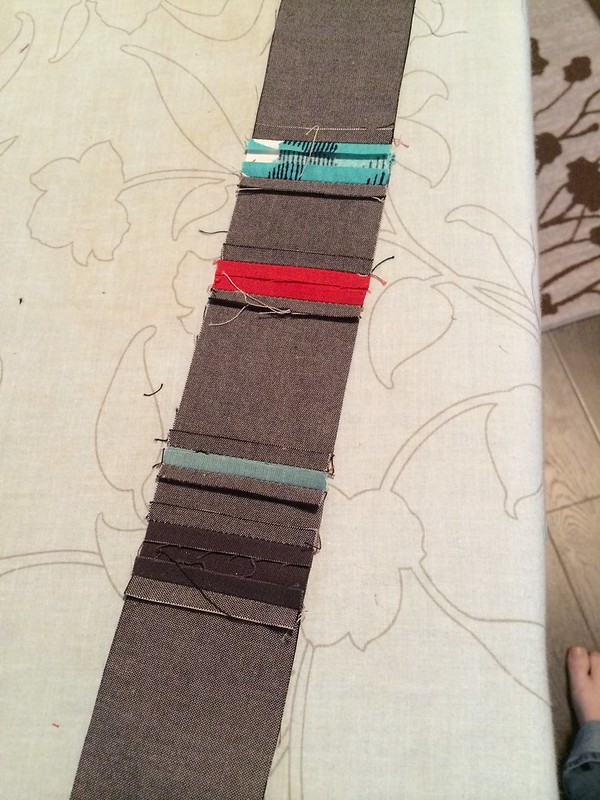
2) After piecing and pressing my bindings, I ran a basting stitch 1/8"(ish) from the edge down each to secure the top and bottom together.
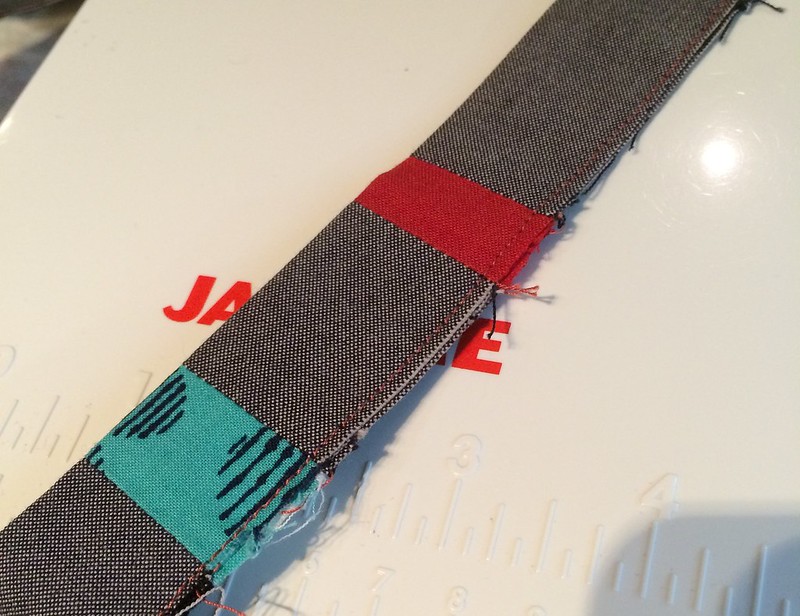
3) Glue. Lots and lots of glue. Wonderclips. Hot iron to set.

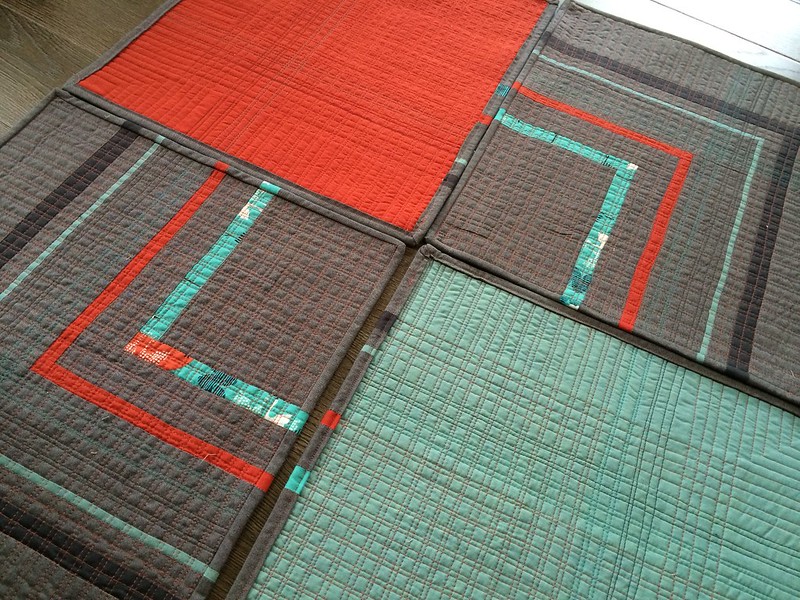
Solution? More glue! I burned through about half a Sew-line glue pen on this project but it was so worth it. Altogether, the bindings took less time than the quilting, even if you allow for re-reading the mitre tutorial twice to remember what I did the last time. They look like more work than they were.
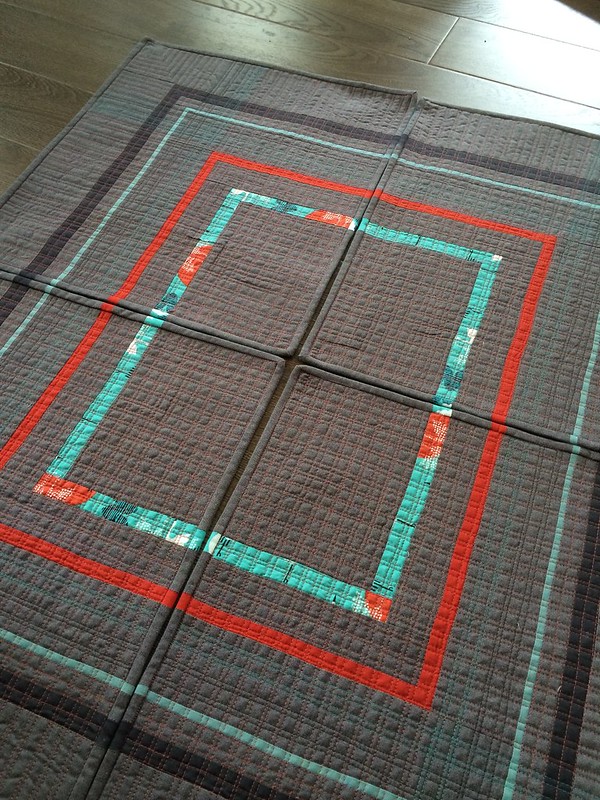
And there you go - placemats! Challenge conquered. Next challenge? Trying to photograph the clothing-making rampage I've gone on this summer... :-)