Hiya! Yeah, I know... How've ya been? Me...? It's been busy and chaotic with a side of crazy monkey banana pants. More on that some other time. I'm going to ease back into the the interwebs slowly.... with a tutorial.
I'm a very happy member of
Canadians Bee - a group that formed after the first round of
Simply Solids. These ladies are intensely talented and totally amazing. In fact, I'm lucky enough to be in the
Saskatoon Modern Quilt Guild with 3 of them! It was those three that I ran this block idea by and they all said they were game to try it so that's what I'm going with.
This tutorial is the basic technique and I'll add specifics for the bee in the flickr thread.
This is a very flexible technique and can be used as you wish. For a traditional(ish) log cabin, alternate light and dark fabrics.
Here we go!
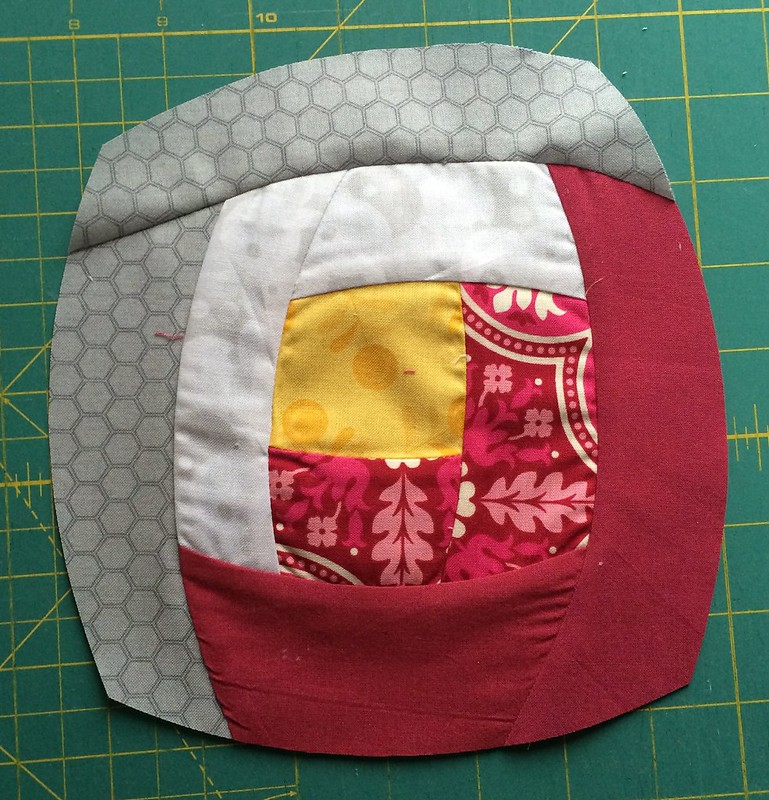
CURVED IMPROV LOG CABINS
You might need these supplies in addition to your regular sewing gear:
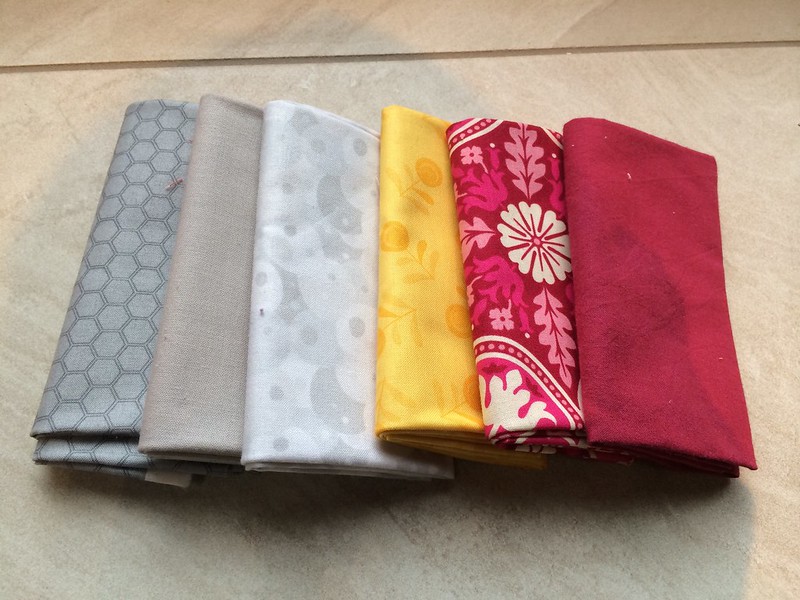
5 or more various fabrics in your chosen colour palette: This technique can use jelly roll strips easily enough but you can use wider. You can also use scraps. I started with a 3" square in the middle and some of my outer strips were roughly 3" but it's not exact, nor does it need to be. You can go smaller or bigger. Add more rounds as you please. I made two different blocks in my examples. I used yellow for both centers (A), then in one B&D were dark colours, C&E light. The other block had B&D light colours with C&E dark.
Rotary cutter: This would be a tedious process with scissors.
Starch: This is handy for sewing curves. If you give your fabrics a light starch before you cut the curves, I find they cut cleaner, sew smoother and lie flatter. I forgot to starch my fabrics at first and had a little wrinkling - which will all go away once I quilt the sucker but once I remembered to starch, everything went a lot smoother.
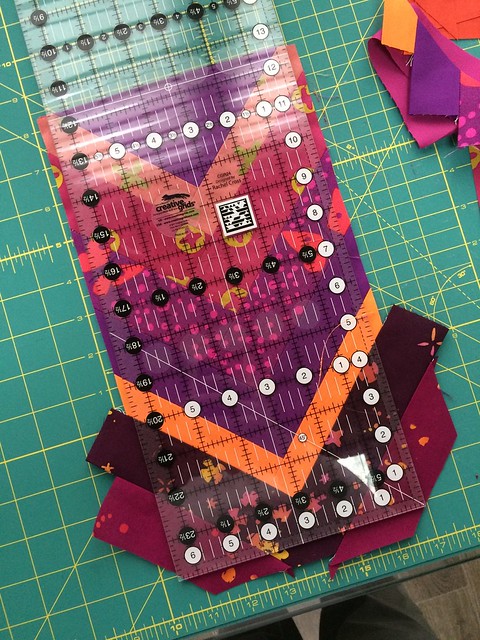
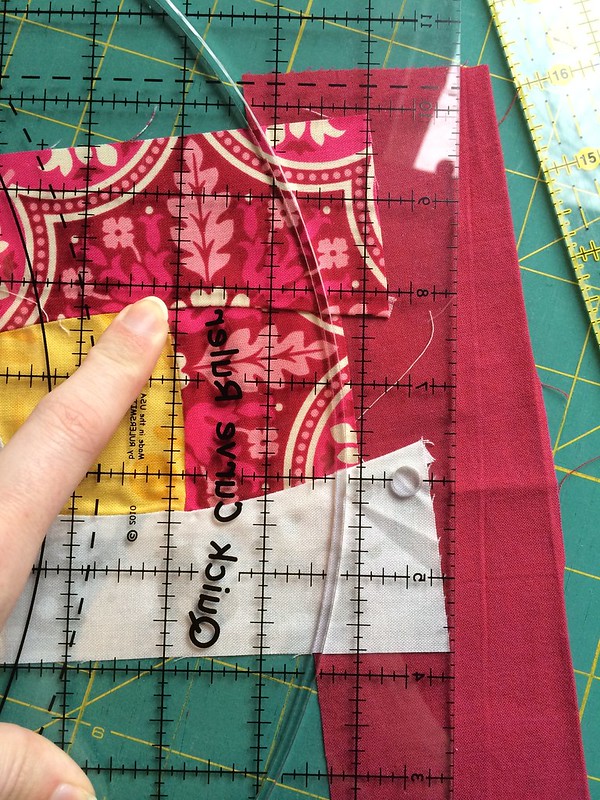
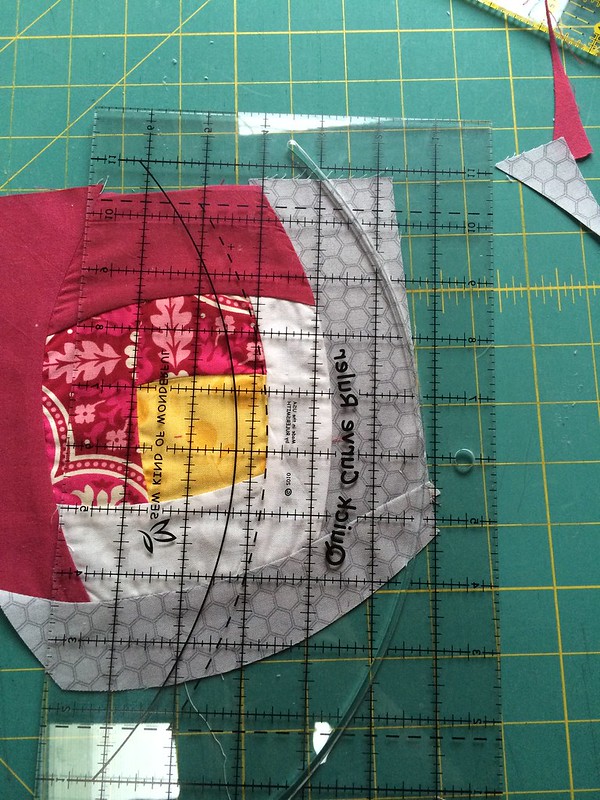
A curved edge: I used the Quick Curve Ruler and the old "no-ruler-eyeball-it-freehand" method for cutting the curves but you can also use a pie plate, an oval casserole dish, , a french curve, an old charger from your Christmas table settings that you've since decided you hate....or nothing. It doesn't have to be a perfect circle or oval - it just needs to have a curved side you can put against your rotary cutter. It doesn't even need measurements! But it's easier to use if you can see through it.
1/4" foot: I find it tons easier to piece curves without using pins by using my 1/4" foot. We'll get to that later...
TECHNIQUE:
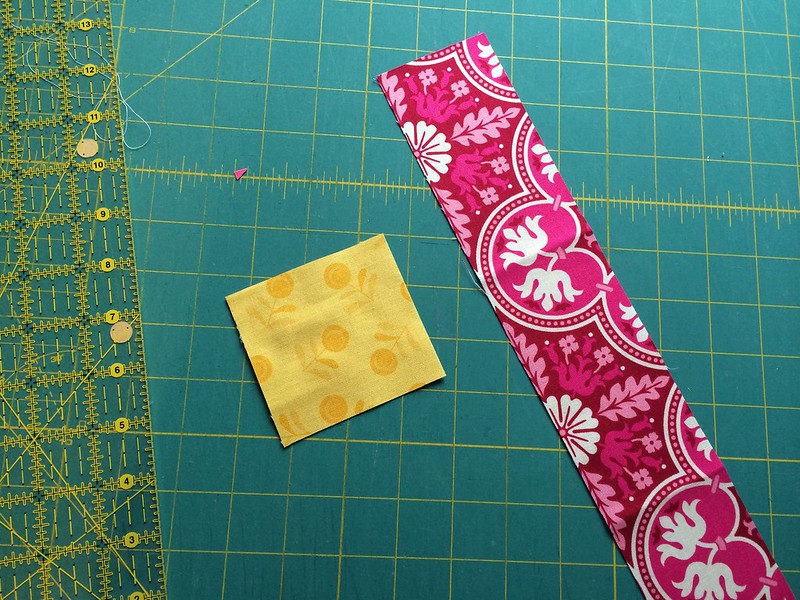
1) Choose a fabric for your center. For ease of instructions, we'll call it Fabric A. I used a 3" square here but you can also use a rectangle. Measurements aren't important here - since you'll be cutting away the edges, having perfectly straight cuts to start with isn't necessary.
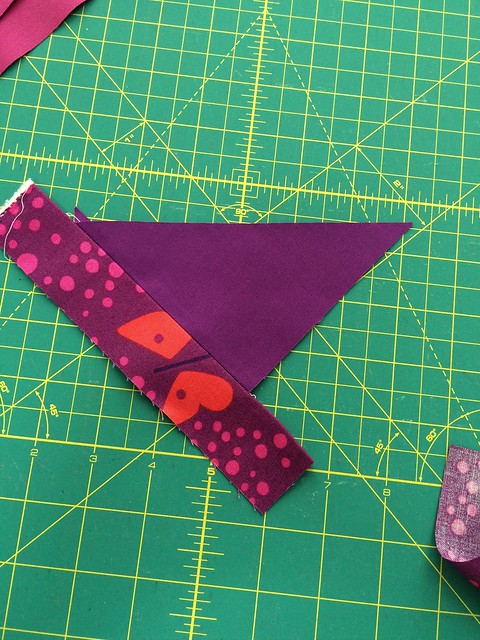
Take a strip of your next fabric (B) - I used a roughly 2.5"strip - and layer your center piece over it just a little - right sides up.
You can trim the needed bit off the strip so you're working with smaller pieces. There should be a slight overlap.
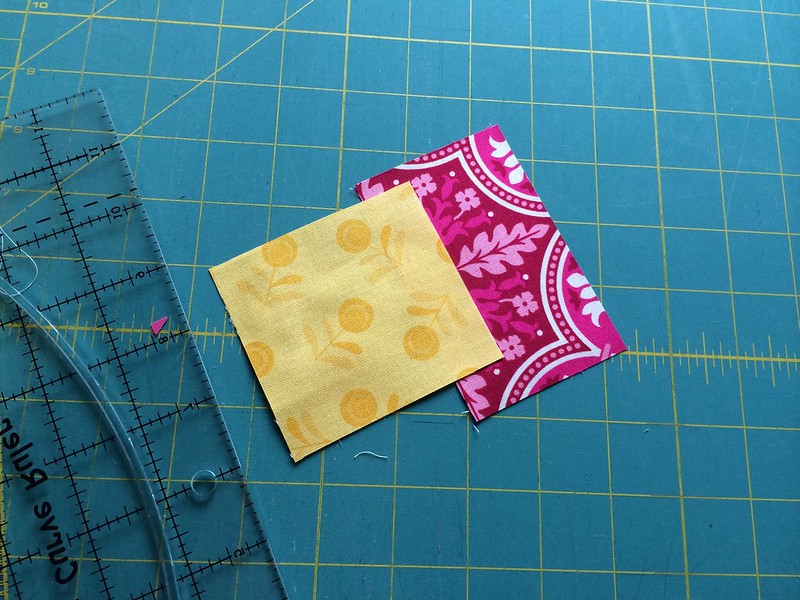
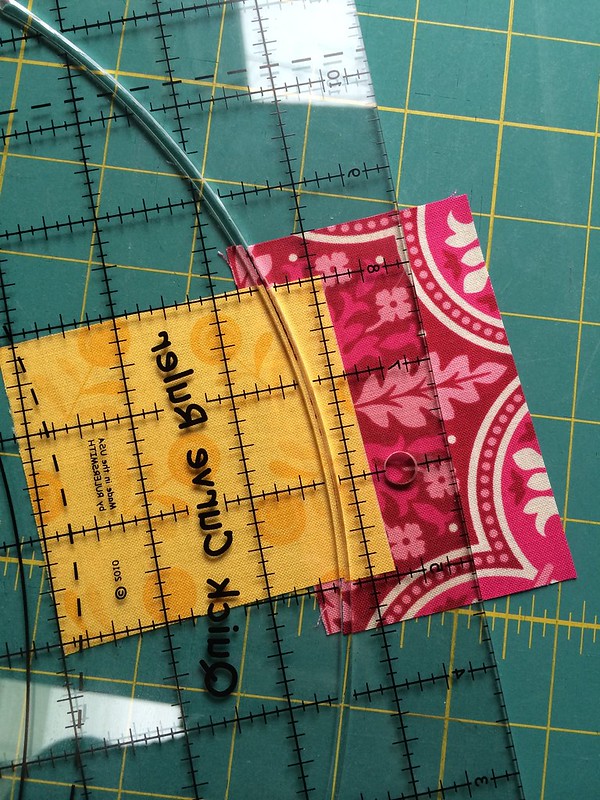
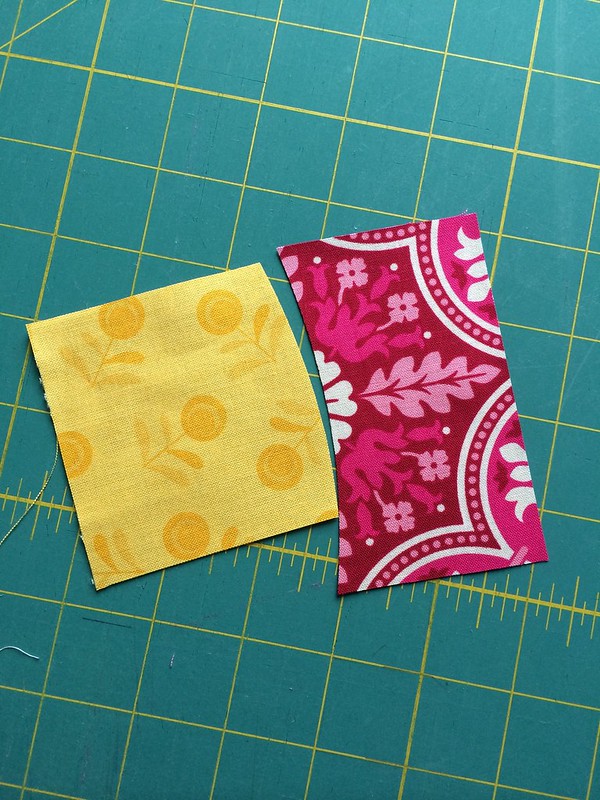
Place your curved edge (or use your fabulous sense of freeform adventure!) on the overlap. The only thing to be aware of here is that the curve should start where the two fabrics meet at the edge on the bottom and end where they meet at the top. At all times, the curve should pass through BOTH fabrics. This way, you make a matching pair of curves.
Fabric A curves out and Fabric B has a nice dent for A to fit into. Remove the excess fabric so you're just looking at out-curved A and in-curved B. Place them right sides together, matching at the top of the curve.
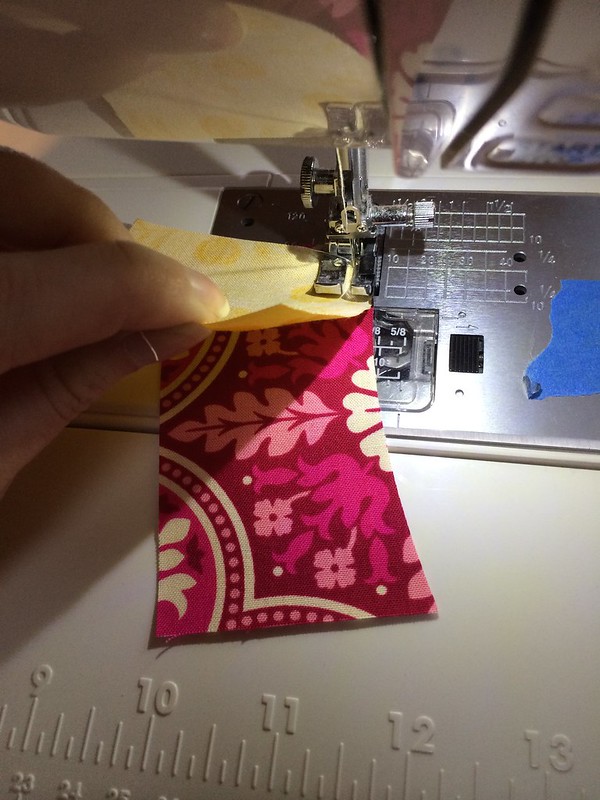
2) Using your 1/4" foot, place your RST curves underneath your presser foot and take a few stitches. I like to put the out-curve on the bottom and the in-curve on the top. Then holding your fabrics apart as you sew, guide the bottom piece with your right hand and the top piece with your left hand, bringing them together using the 1/4" fence as a guide.
Try not to pull or stretch as you sew. There are a couple of videos on sewing curves without pins out there if you need to see it.
This one is great!
3) Press to the side of least resistance - in or out, depending on your fabric. There isn't a bulk issue here so direction isn't important. The seams lay fairly flat if you use the no-pins method.
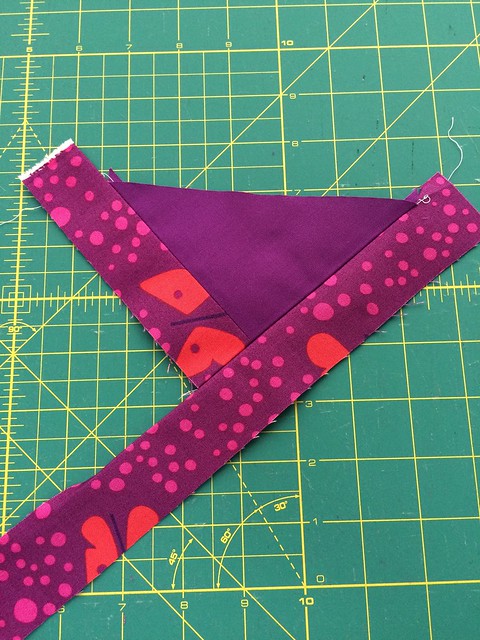
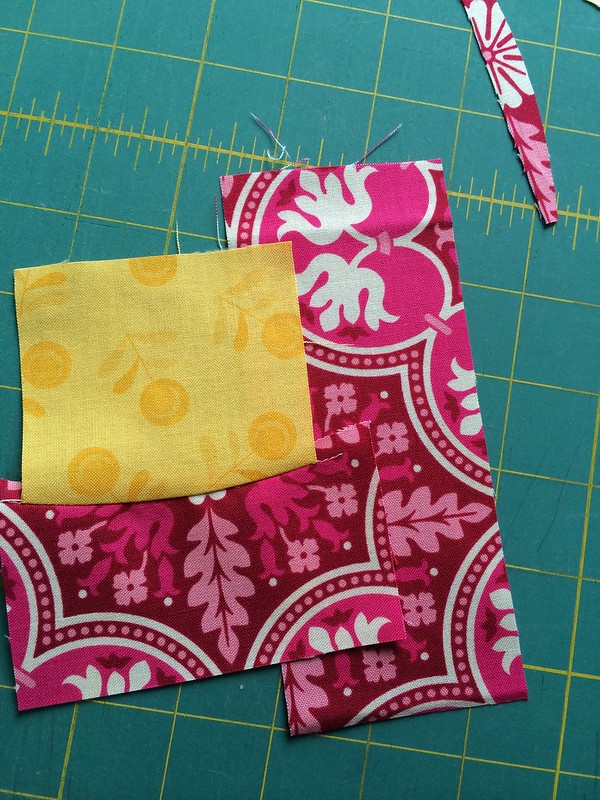
4) Lay down another strip of B.
Layer your A/B center unit onto the B strip, keeping the B part of the A/B centre at the bottom. In order to keep the traditional log cabin look coming through in this modern version, always orient the center piece so that the strip you just sewed is in the same position. Always on the top OR always on the bottom. You choose - just keep it consistent for each pod/block.
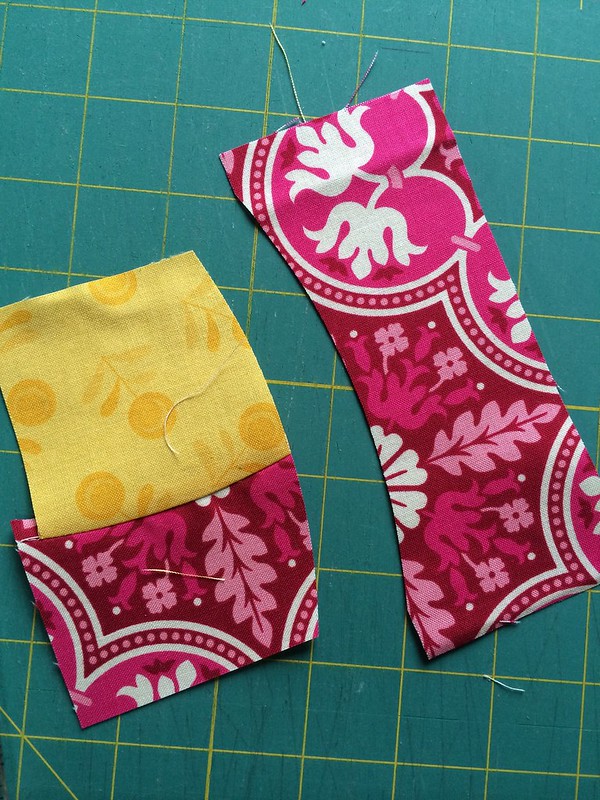
Make your curved cut same as you did in Step 1. You can play around with angling your center so that the width of the strips changes from piece to piece. It can be wider or narrower, sharper or softer curves, whatever appeals to you. The idea is that this will take on its own shape and not be uniform. Each little cabin will be unique.
5) Sew your curves same as in Step 2.
6) Repeat the steps using Fabric C, then again with each D and E. And beyond if desired!
When it's the size you want, use your curved edge to curve up the sides.
You now have a log cabin pod!
Coming next month, once I start getting bee blocks in the mail, I'll do another tutorial on how to frame them out into full blocks. Hint: It's very similar to what we've just done here but with larger chunks of fabric and squared outside edges. :-)
Let me know if you have questions or if you try this technique out! I will get back to you as soon as I can (which is right after I catch up on a great deal of back emails and blog reading!) Please make sure you're not a no-reply blogger or I can only answer questions in the comment thread.
Thanks for reading - hope you enjoy it!