Showing posts with label SMQG. Show all posts

Wednesday, August 6, 2014

Modern Borders = Placemats

First - thanks for all the support with the bag story!  Yes, the stains mostly came out. It was pointed out to me that I kinda skipped that part. Oops!  Also, I've had quite a few no-reply commenters lately so if you didn't get a response from me directly, that is why.  I WANTED to reply to you....  Why won't all these blogging platforms play nicely together? Sheesh.

In the busy-ness of my life, I am finding time to keep up with challenges. It's become a point of pride with me to not have missed a single challenge at SaskatoonMQG.  The one due at the end of July?  Make a modern border.

How do you do that?  And who came up with this cockamamie challenge anyway? (Me. It was me.)

Fine.  I'm making a piece that is ALL borders.  That's right just one border after another.  And then I'm going to cut it up so the borders don't even go all the way around. Yeah.  Take that, challenge-comer-upper-with! (Again, me.)
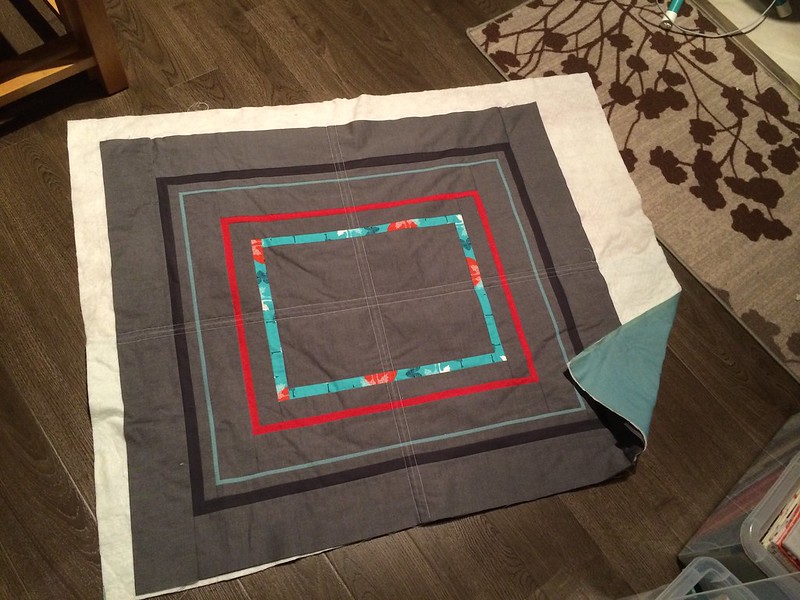
I started with some shots and chambray.  Feels so luxurious in the hand. If only the shimmer of both showed up in photos...Threw in some Tsuru for good measure.
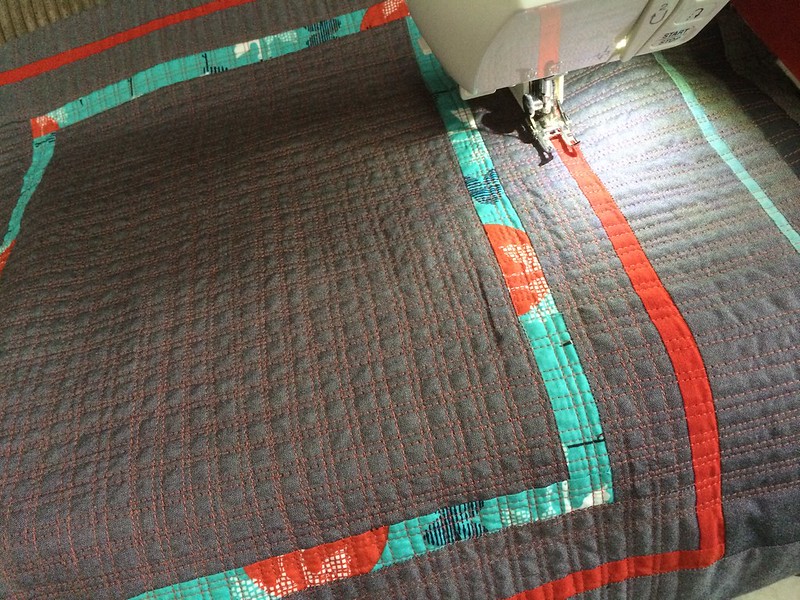
Once I had it pieced, I used the leftover shots on the back, and then grid quilted the thing to death.  That took some time.  I echoed the borders a bit with the thread colours.

Then I got out the rotary cutter. At this point, my great idea seemed a little nuts. I held my breath,  began my meditation (It's only fabric, only fabric, only fabric....ohmmmmm...) and cut away.

Now onto the binding!  It was important to me that the borders not be broken even though I'd mercilessly cut them to shreds moments before.  So, I pieced together the bindings from the leftover border pieces.  I made a separate strip for each side of each piece (what???)  I'm not so good at calculating the exact amount of fabric taken up in a binding corner so I sewed the long strips and used Linda's binding method with the mitred corners.  It's probably the best way to do a matched binding. Linda rocks.

How did I keep it matched all the way down? Good question! Three things.
1) I moved my needle one more notch to the right to account for "quilt shrinkage" - think exact 1/4" instead of scant.  On a larger piece, you'd have to measure the finished width of each chunk but this was small enough I could fudge it with my non-scant seam allowance.
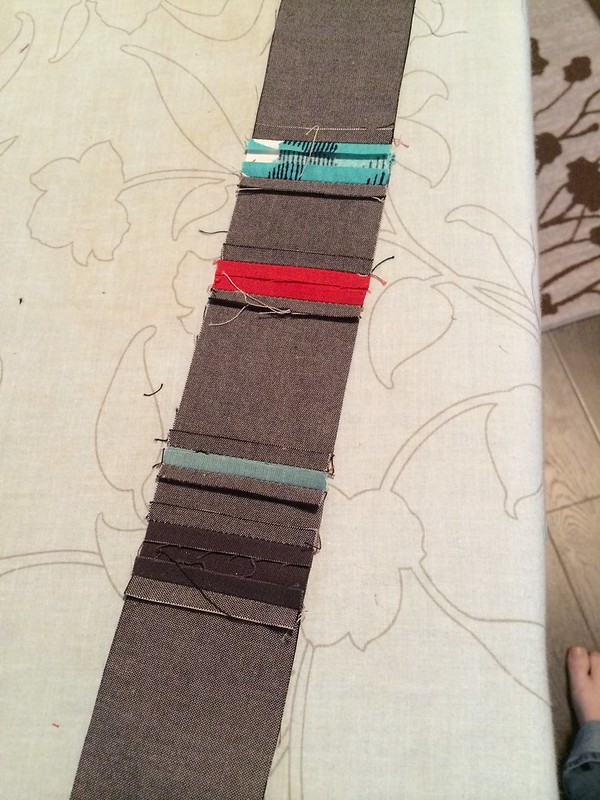
2) After piecing and pressing my bindings, I ran a basting stitch 1/8"(ish) from the edge down each to secure the top and bottom together.
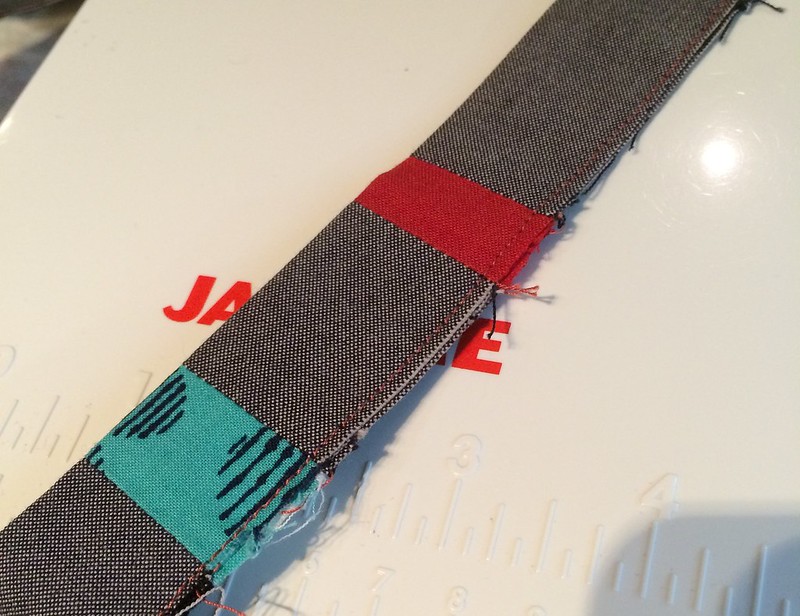
3) Glue. Lots and lots of glue. Wonderclips. Hot iron to set.

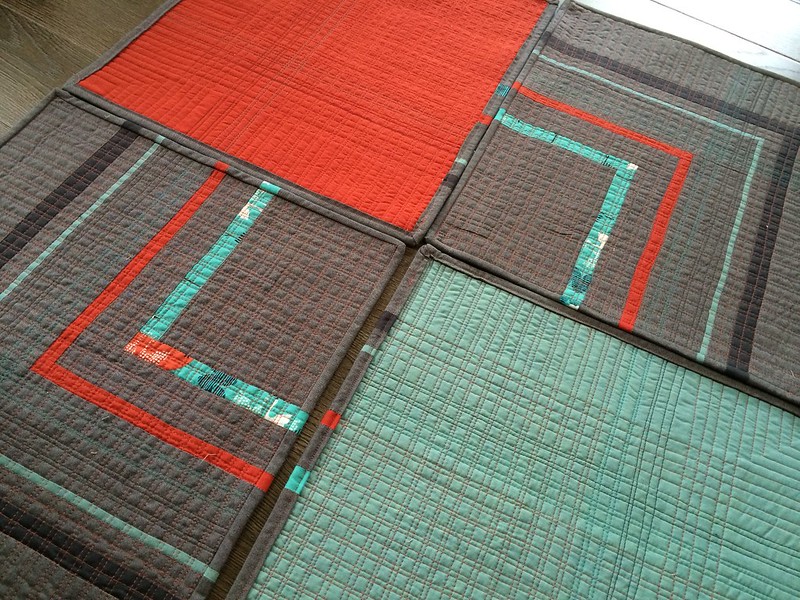
Once the corners were mitred, I knew there was no way I was going to be able to hand-finish these bindings with the uber-dense quilting.  Machine-binding and I have not gotten along in the past; I've always thought it turned out messy and ugly, and way less satisfying.

Solution?  More glue!  I burned through about half a Sew-line glue pen on this project but it was so worth it.  Altogether, the bindings took less time than the quilting, even if you allow for re-reading the mitre tutorial twice to remember what I did the last time. They look like more work than they were.
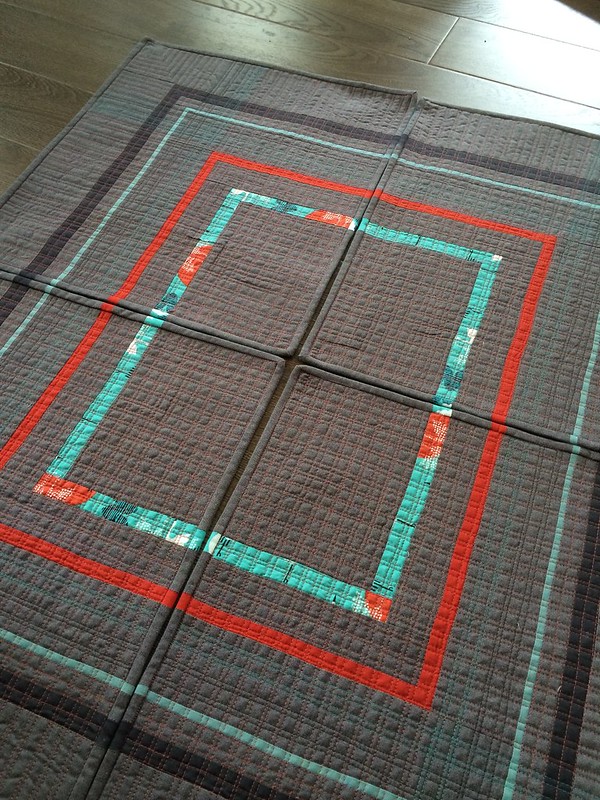
And there you go - placemats!  Challenge conquered.  Next challenge?  Trying to photograph the clothing-making rampage I've gone on this summer... :-)

Sunday, May 25, 2014

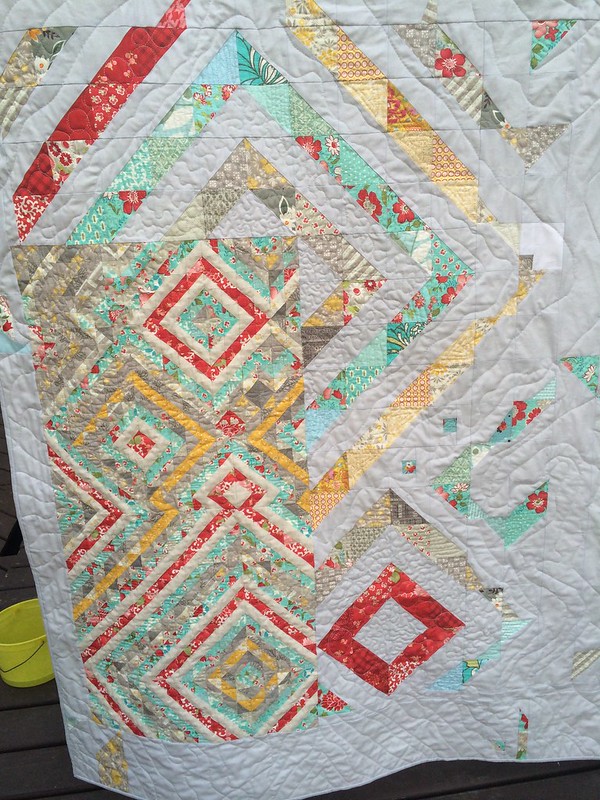
Finished: The One Less Traveled By

Whew! The Bloggers' Quilt Festival can take a lot out of you!  I think I saw them all.... And appreciated all the lovely comments back and forth.  I had a few that were no-reply which always makes me a little sad so if you didn't get a reply, that's the reason.

Anyhoo!  The Saskatoon Modern Quilt Guild had a UFO challenge.  "UFO" is always a challenge for me since I rarely have any.  I tend to stick to only a few projects at a time and frequently go full-steam-ahead until they're done.   I do have ONE long-term UFO but it's in storage and I haven't seen it in years. If it has survived the storage process, I will finish it likely as soon as it's freed.  Other than that, I don't think I have anything that has been waiting more than two years.

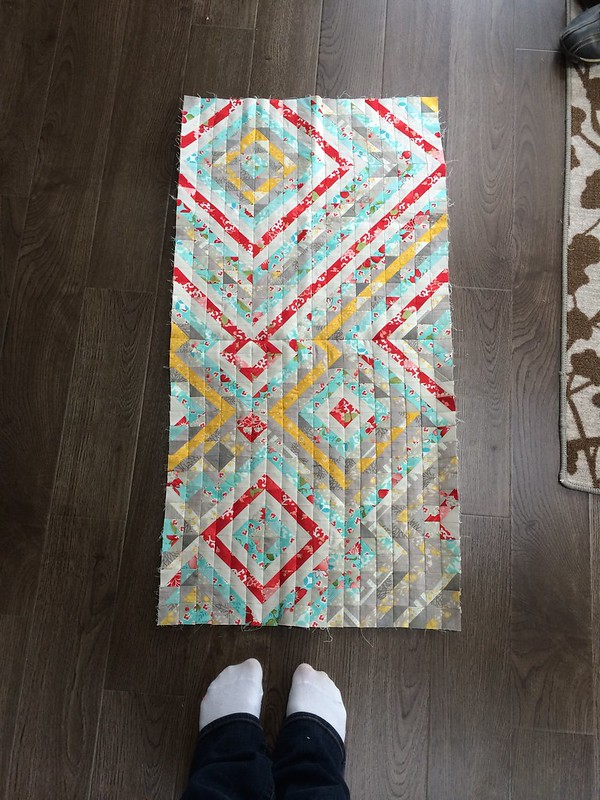
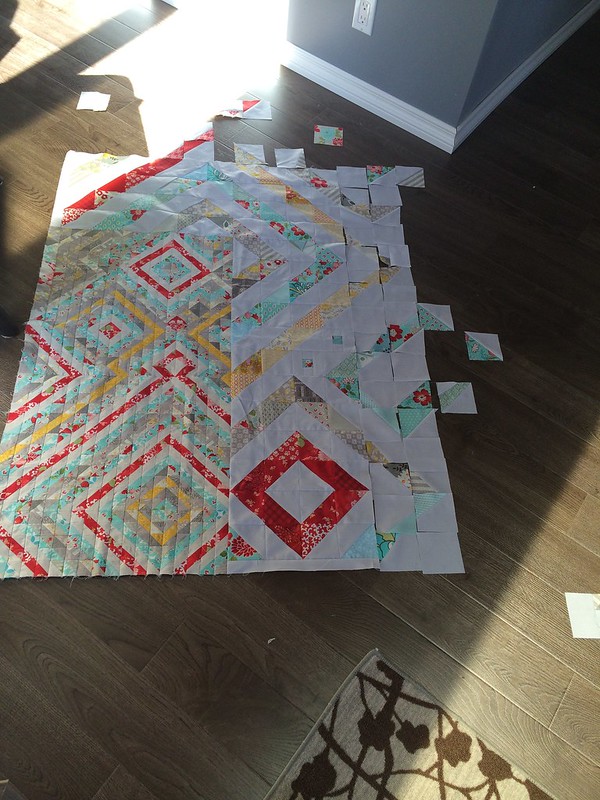
I did have a crap ton of HSTs rescued and salvaged from other projects (specifically ones for my sister). They've been trimmed up in little bunches of 1.5" squares at Wednesday guild gatherings for months and months.  I'm not saying people made fun of me, but more than one of my quilty friends questioned my sanity. :-)  The intent was always to make a trip around the world or something like it. So the time had come to do something with it. So I dug into the scraps and grabbed my Kona Silver yardage and went nuts.

It started with tiny but traditional,
then moved to tiny but a little more irregular,

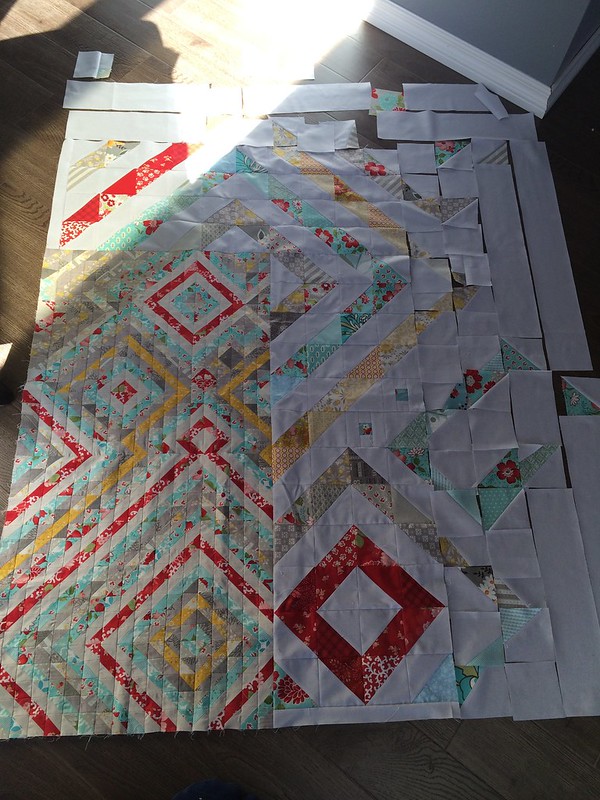
to larger,
to very irregular....
like a set of paths not quite found by feet yet.

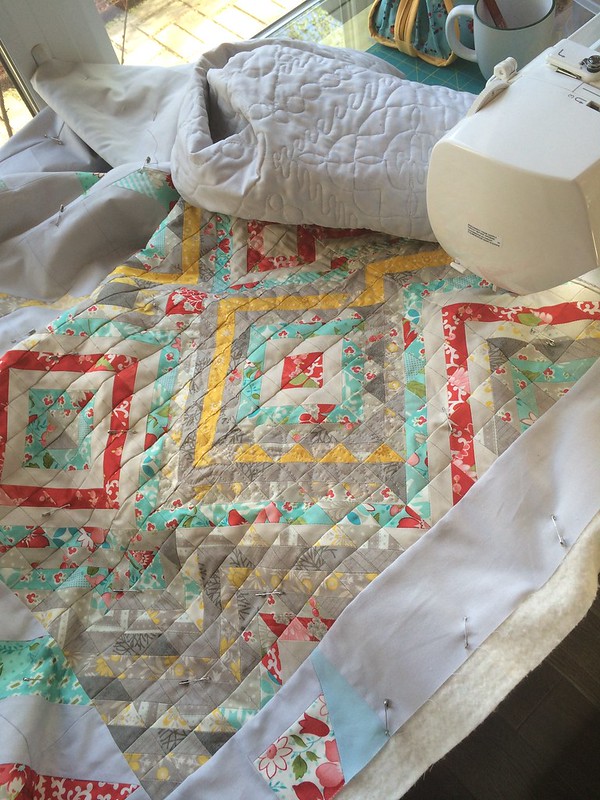
The quilting is.... uhm, not my best. I rushed a little in a push to meet the deadline (I have never not finished a SMQG challenge!)  I'm a little out of practice and always more convinced of my skills before I sit down to use them.  However, I more or less got the look I was going for: more tiny and structured in the wee blocks, loose and watery as it moves outward.  I'll try to remember to either leave time or to take more next project.

I added a couple of blue chunks to the binding, letting them fall wherever.  The back is unspectacular and with fading light and borrowed quilt holding help, I totally forgot to snap a picture of it.   It's most silver with a little piece of blue floral.

Approx: 68x78"
More than 650 - 1.5" HSTs salvaged and used up.  (I have about 6 left over...)  One GIANT ziploc bag no longer crowding my sewing space.  And I am content.

Tuesday, November 5, 2013

Colour Challenge Pillow

First off - thank you to everyone who's stopped by during the Blogger's Quilt Festival, left comments, nominated my quilt, or voted for it!  It's very kind of you and I'm flattered beyond words. You've put me in some pretty amazing company. Thanks!  It took me 10 days to get around to see everyone's quilts so I do appreciate the time it takes to look, read and leave a message.. <3 p="">
****

The Saskatoon Modern Quilt Guild had a recent colour challenge. We had to make something using a colour scheme that had been discussed at our meeting in August.
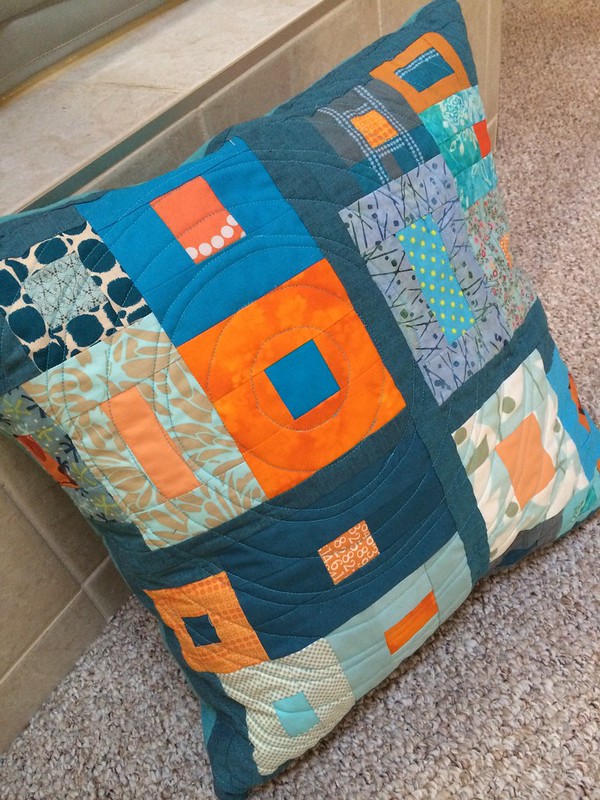
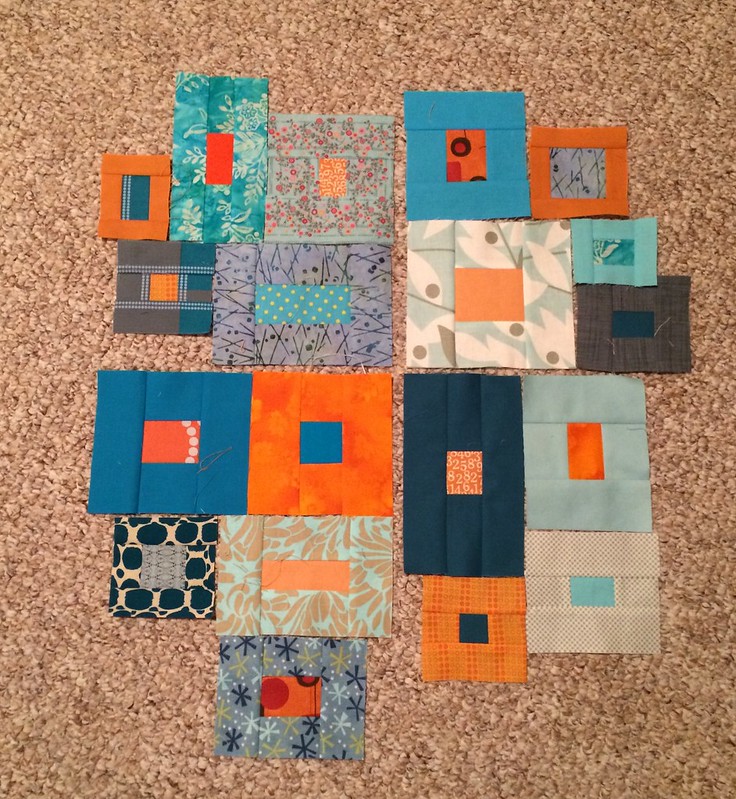
In a move that surprised absolutely no one, I chose blue and orange.  Blue + Orange = Complimentary Colour Scheme!  After playing around with some scraps, I had some little boxes.

I played around a little more and framed them into boxes using a FQ of shot cotton I'd been hoarding.

Then I tried to counteract all that square corner-ness with some circle quilting.


Et voila! A cushion!  I tend to give away a lot of my challenge pieces since Mum and Seester usually call dibs.

Totally keeping this one.   It's my colours. :-)

I've got more to post - a month or more of not blogging equals lots of little things that need showing and telling... but it'll have to wait until next time! Have a great Tuesday!